DIY produkter
Gör dina kläder lysande! Välj ett mönster du tycker om och fäst trycket var som helst: på ryggsäcken, jackan, vantarna, mössan, halsduken, handväskan, träningsbyxorna eller strumpbyxorna. Klipp, placera och anpassa precis som du vill!
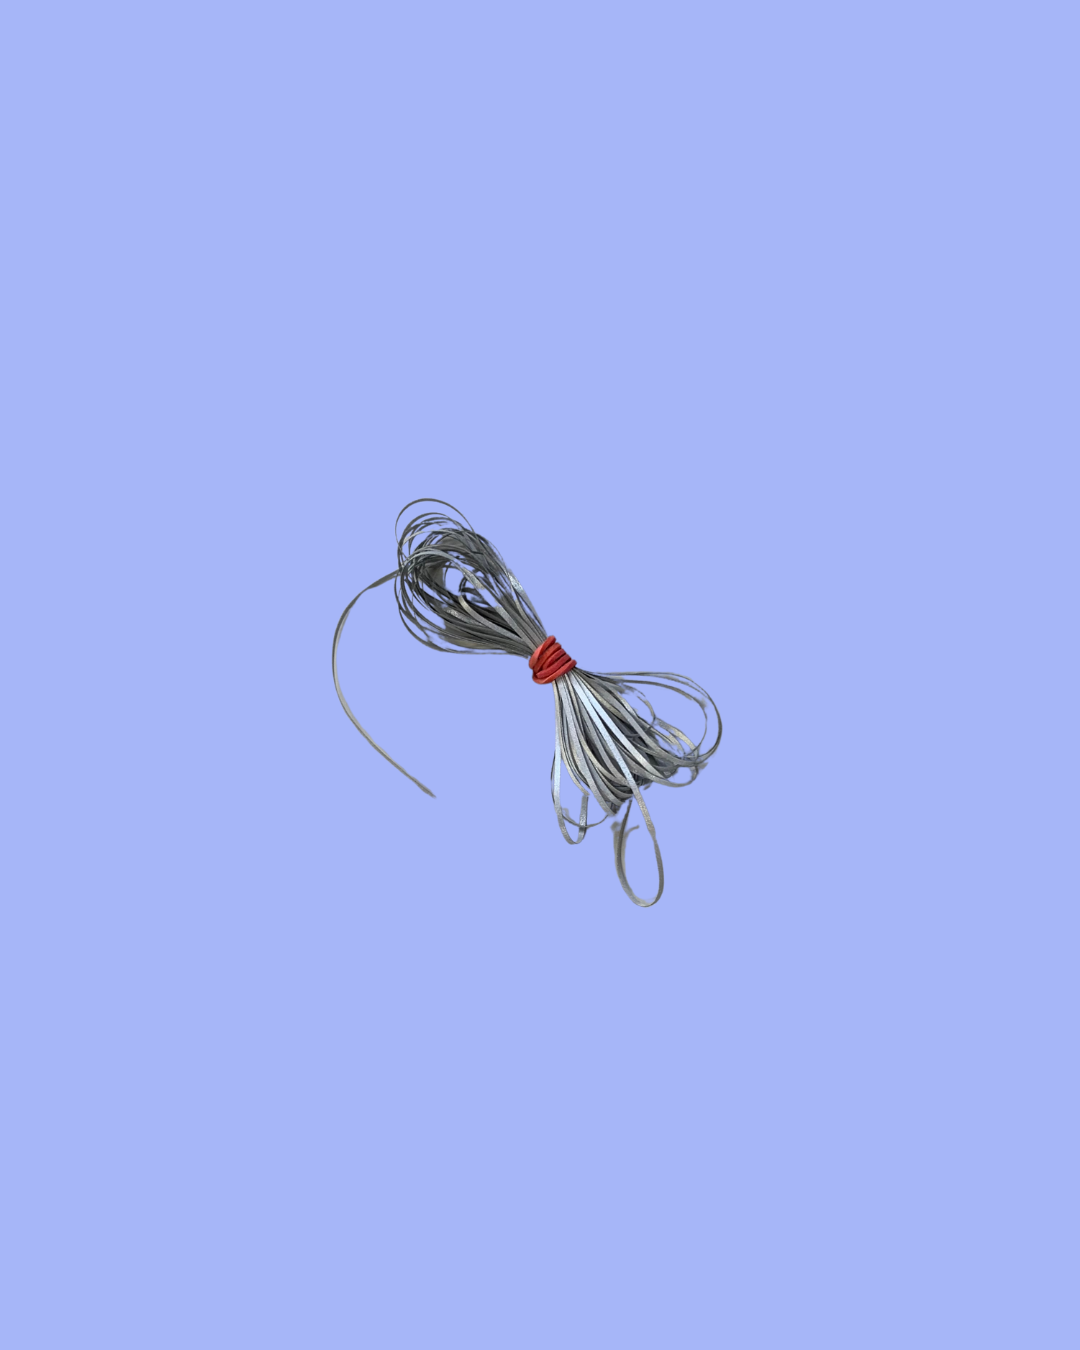
Reflexbanden kan strykas på, sys eller fästas var som helst – till och med på sömmar, tofsar eller skosnören!
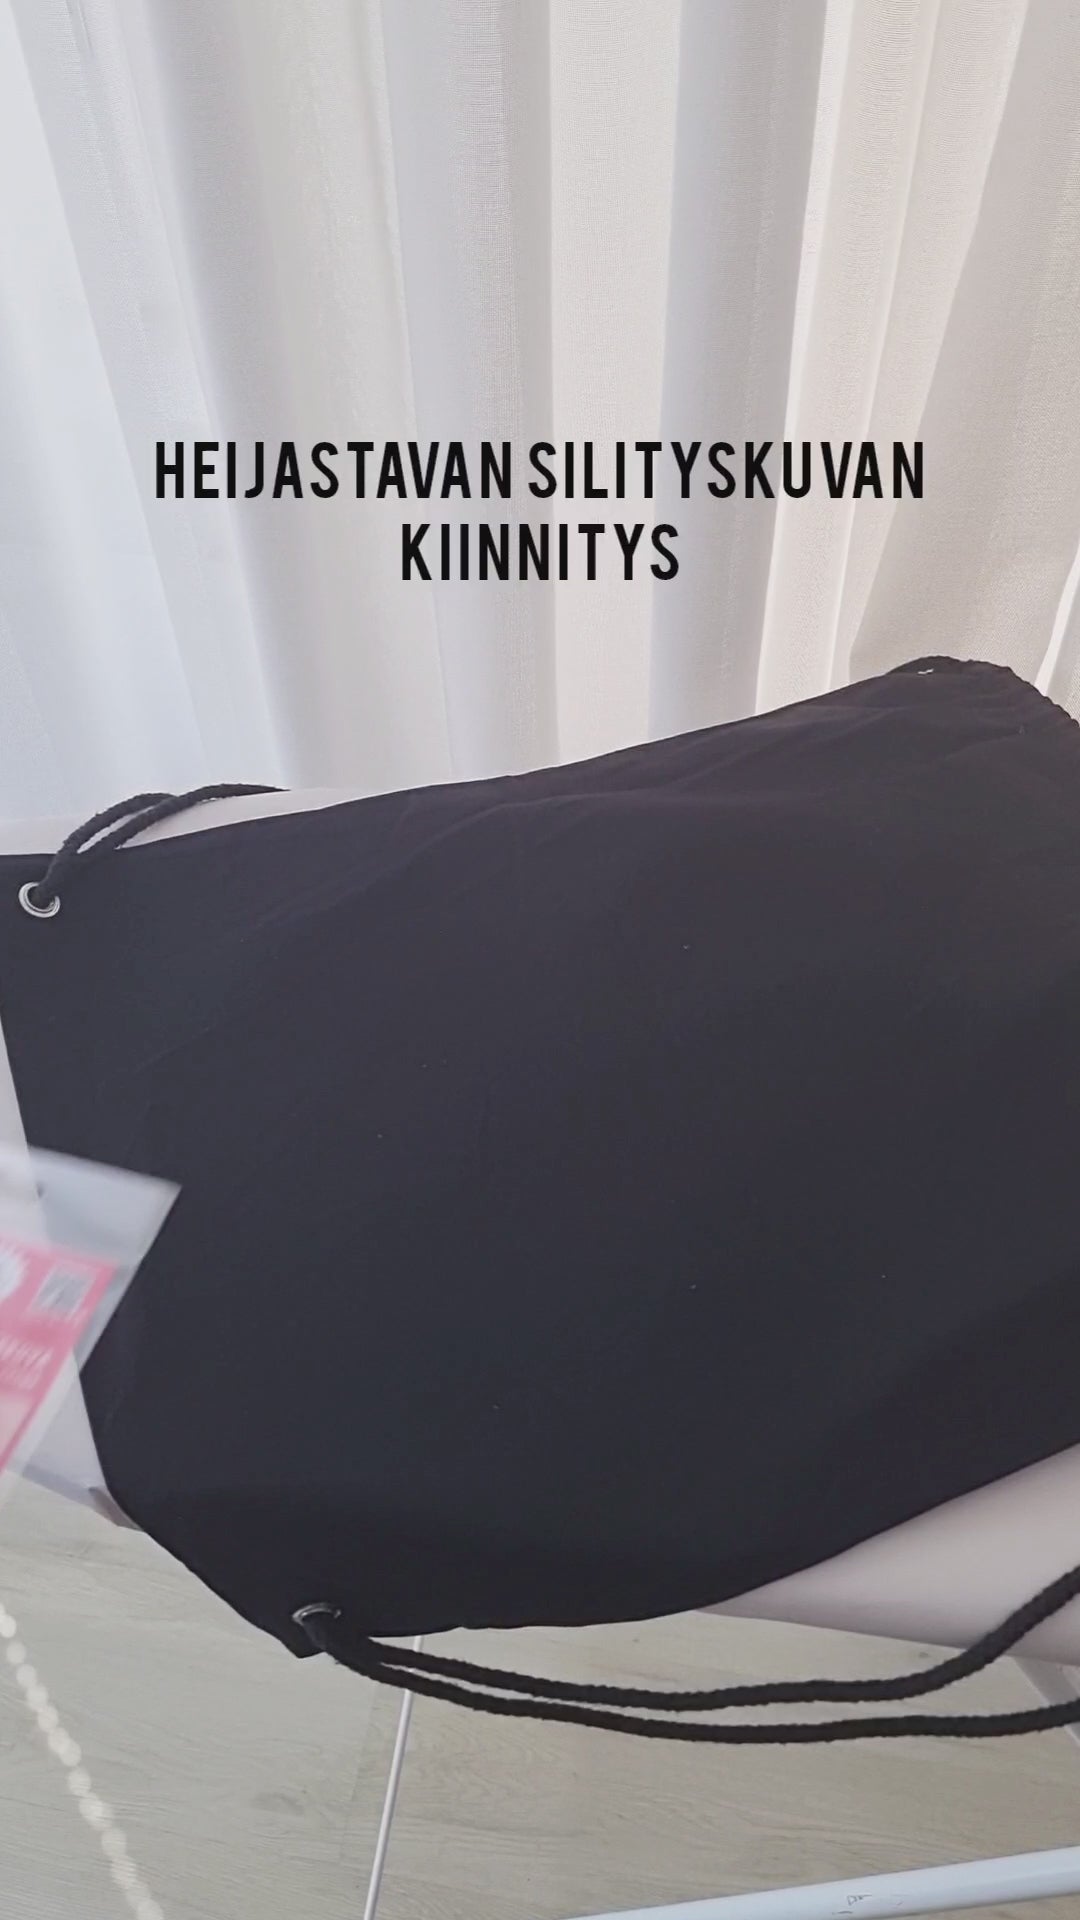
Så här fäster du strykbildet
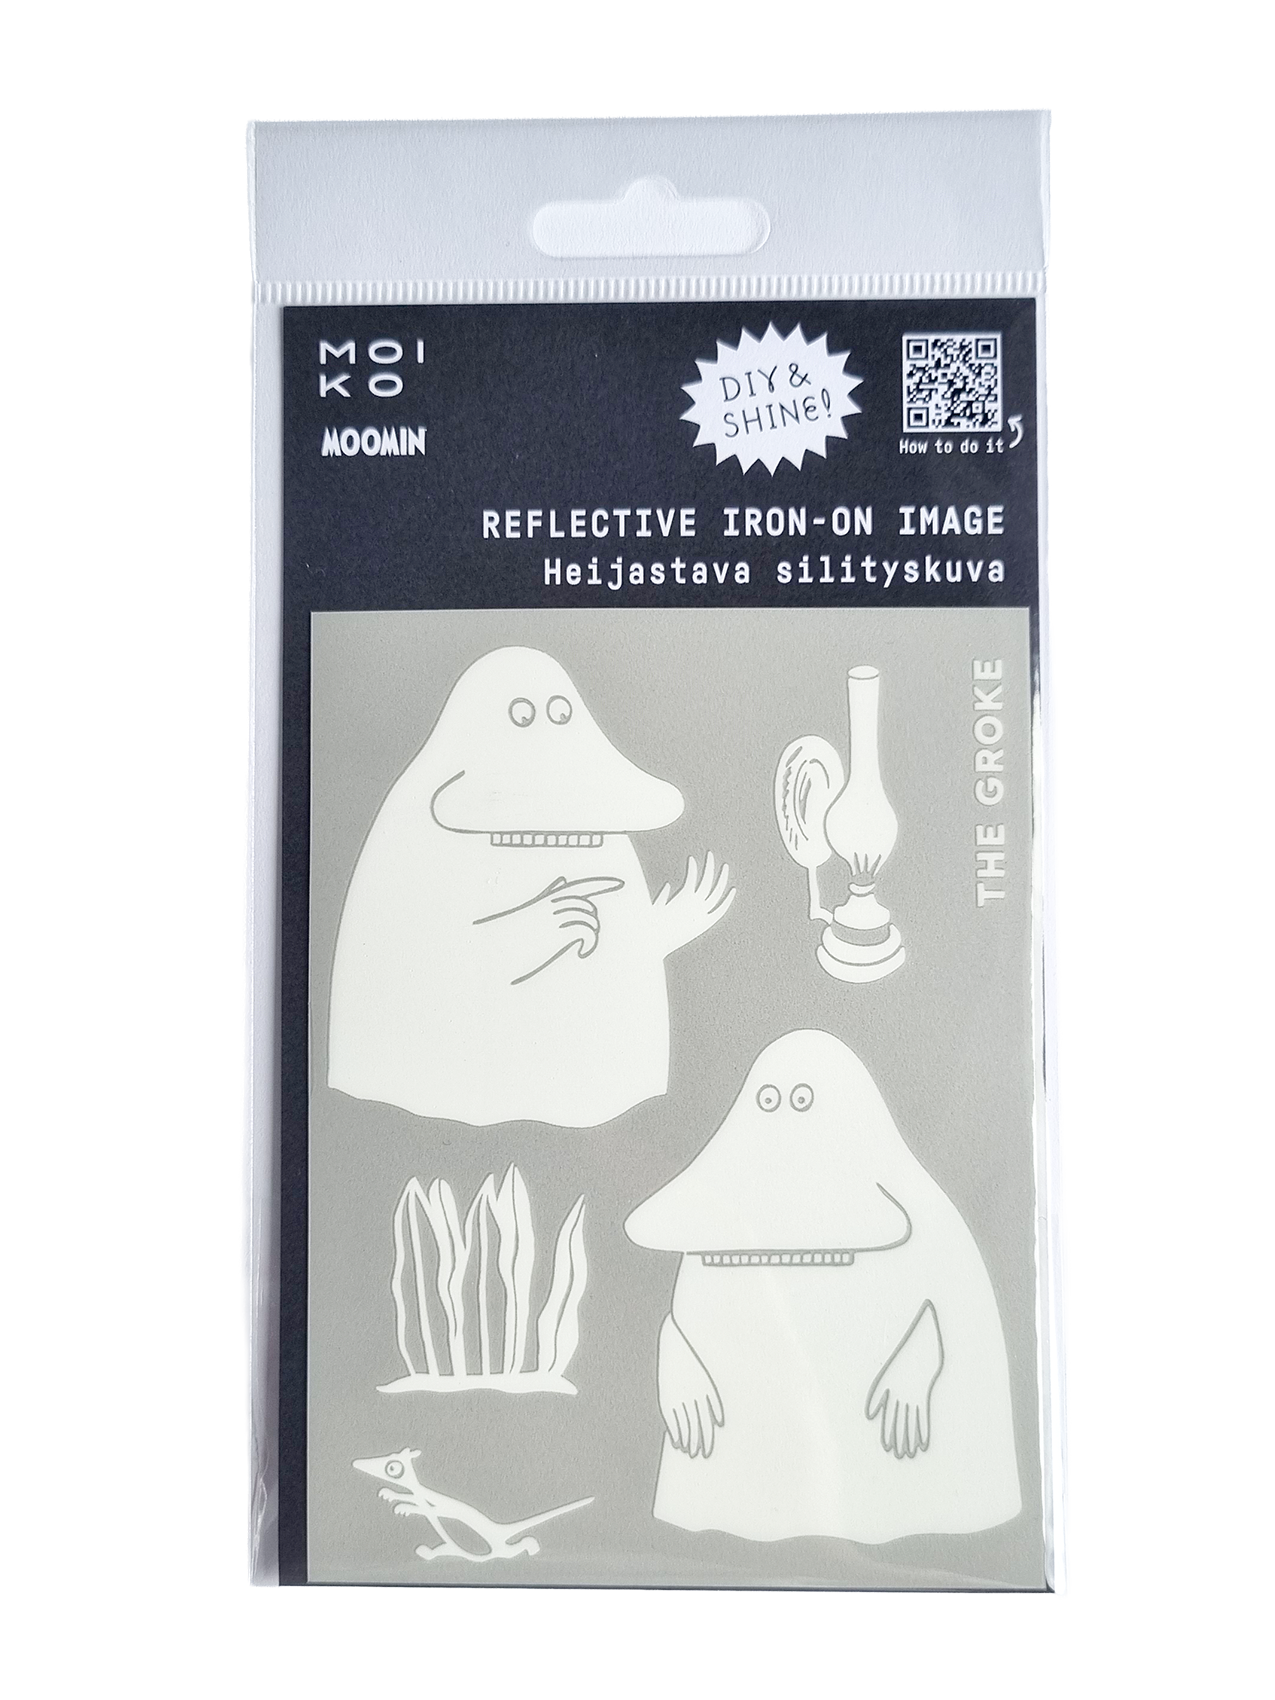
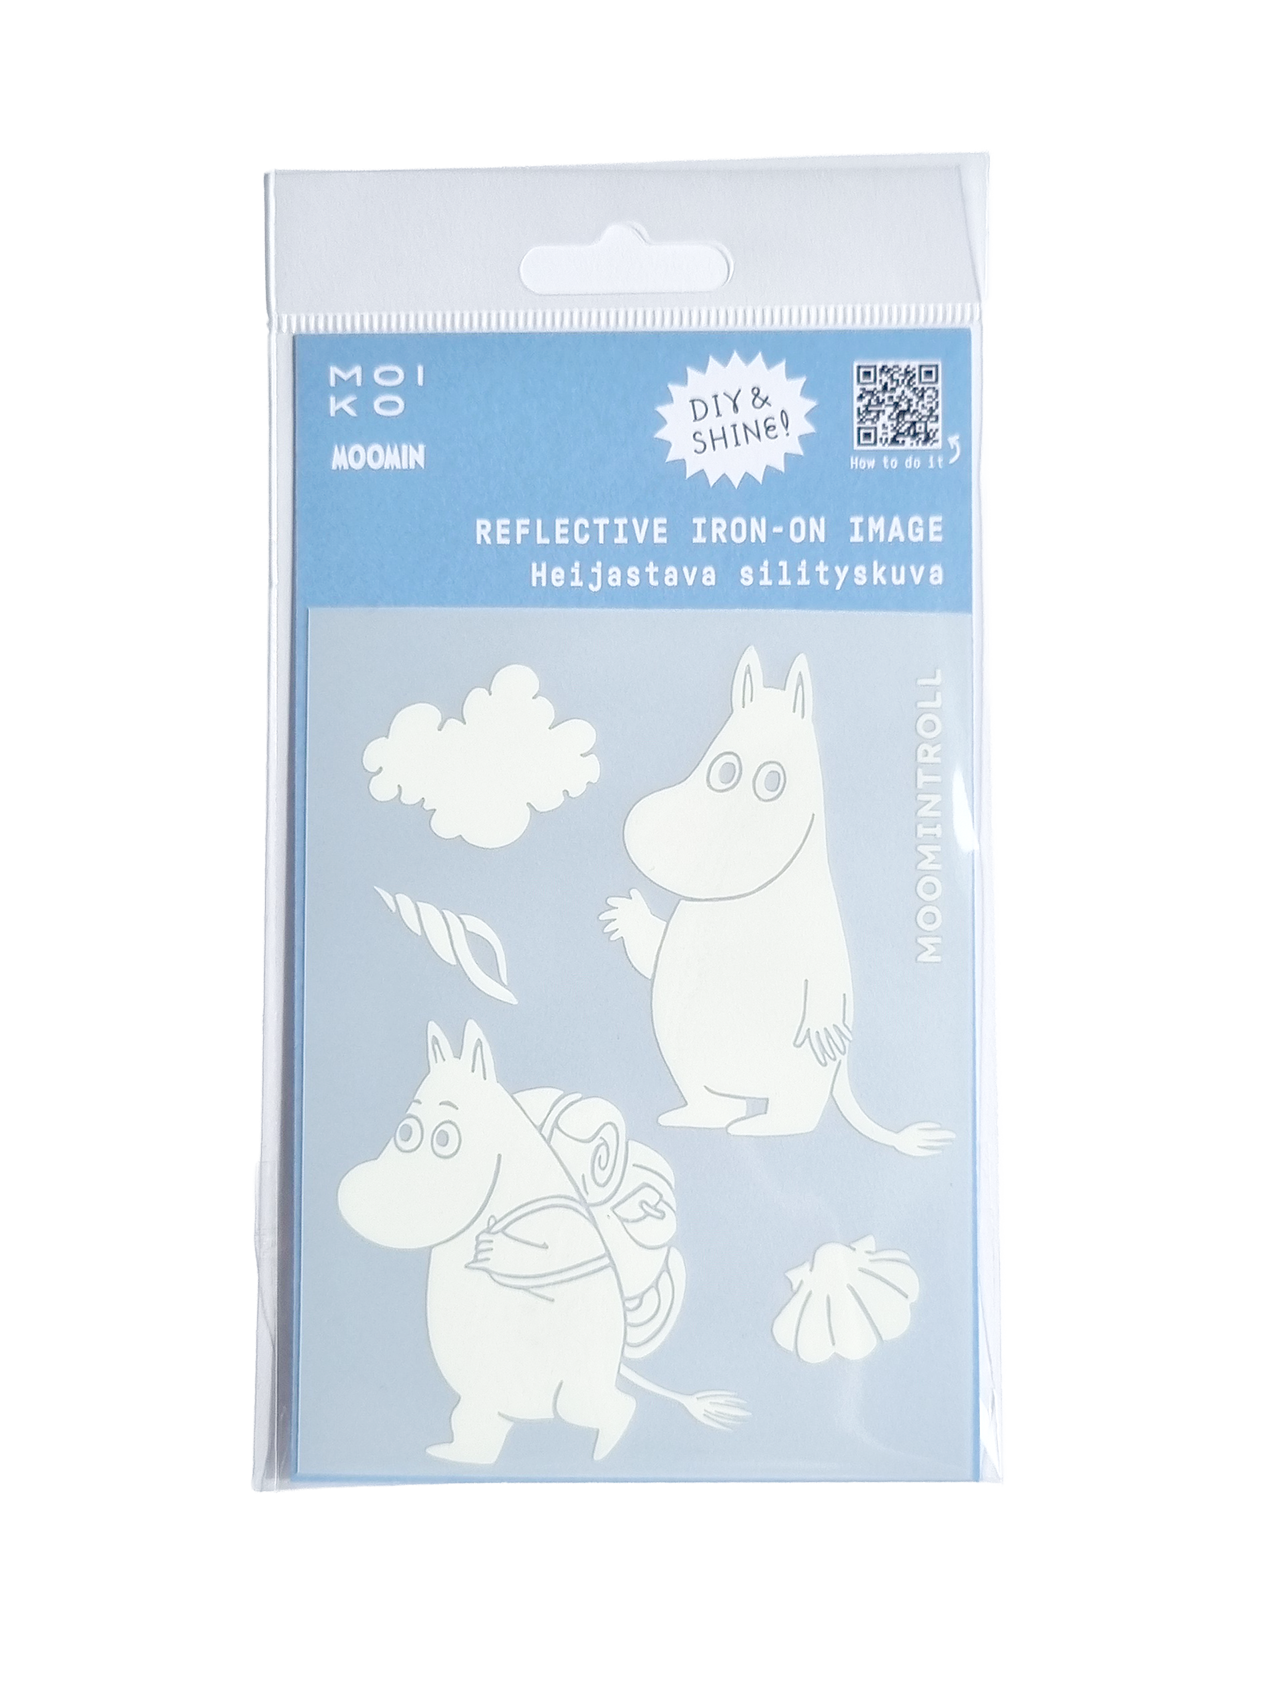
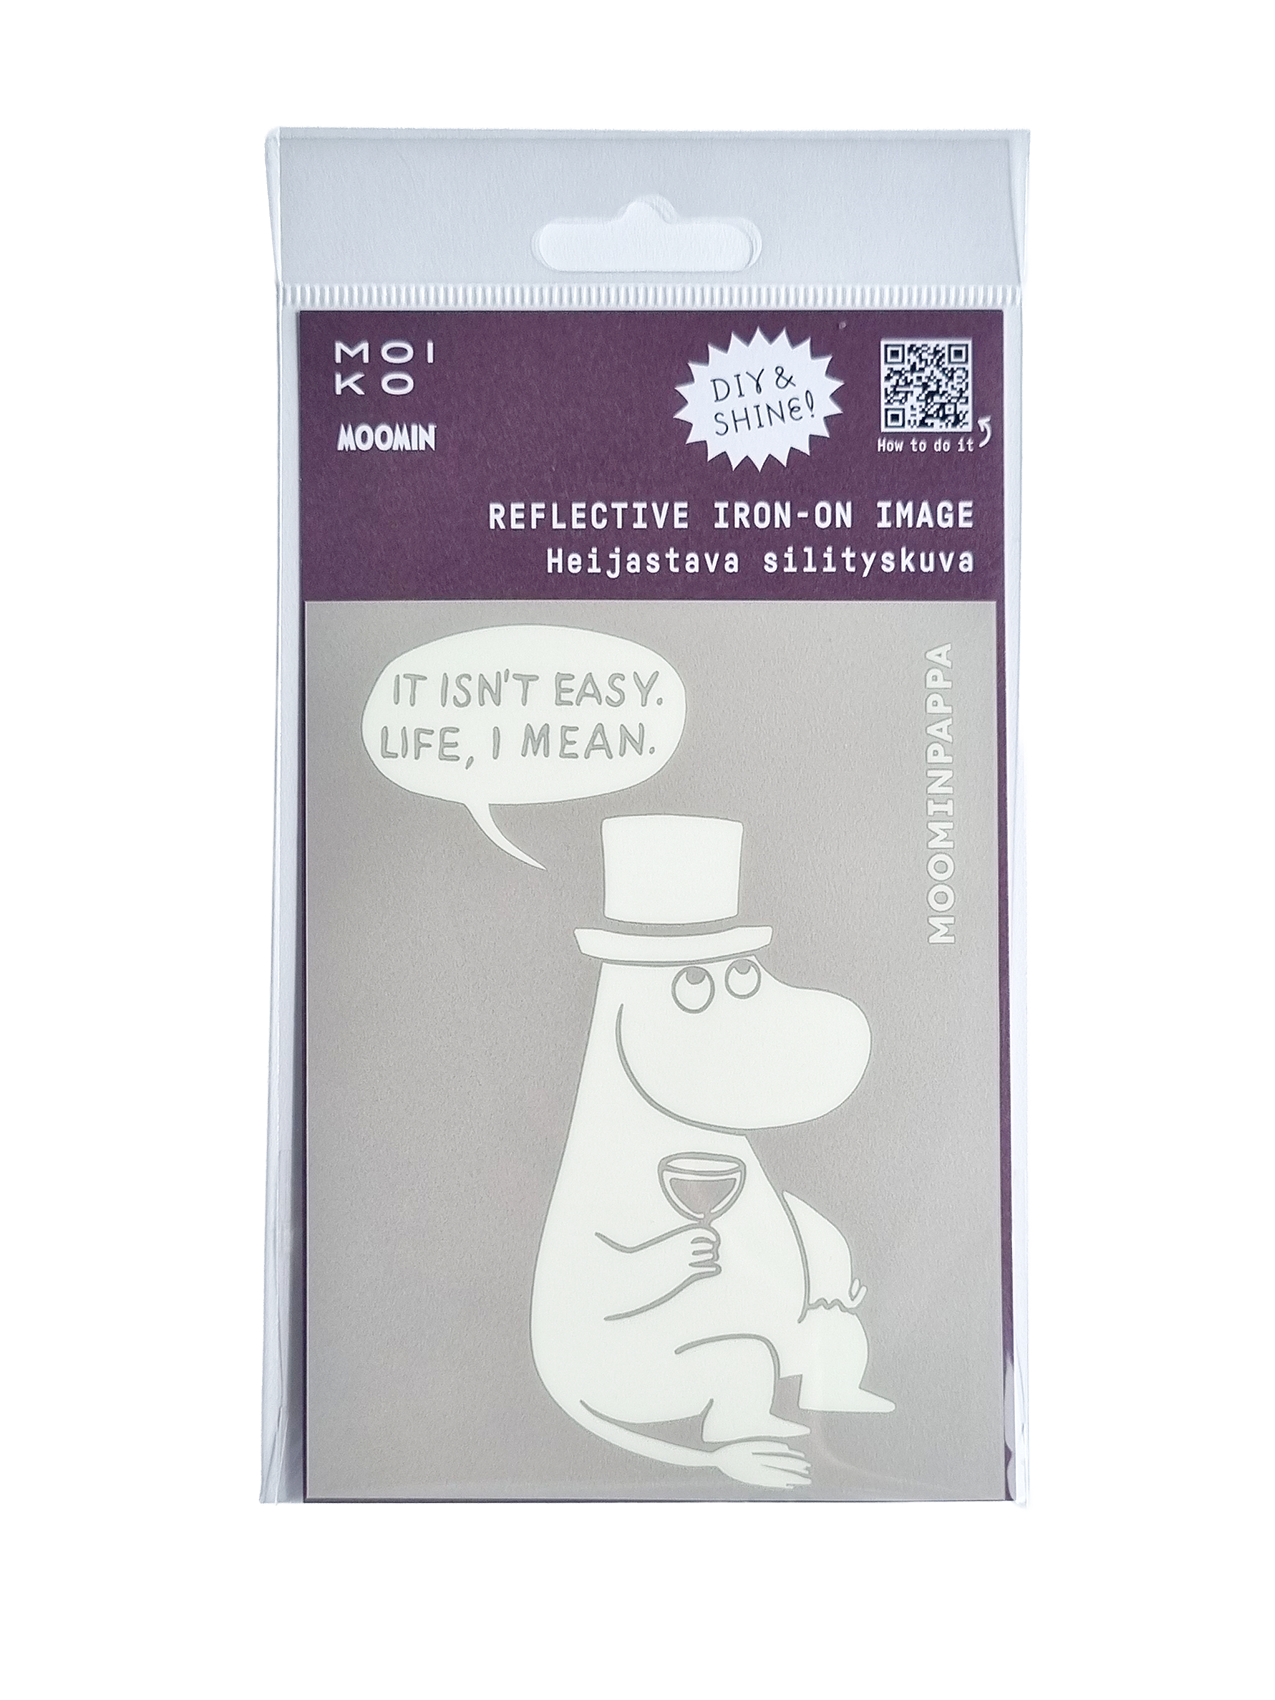
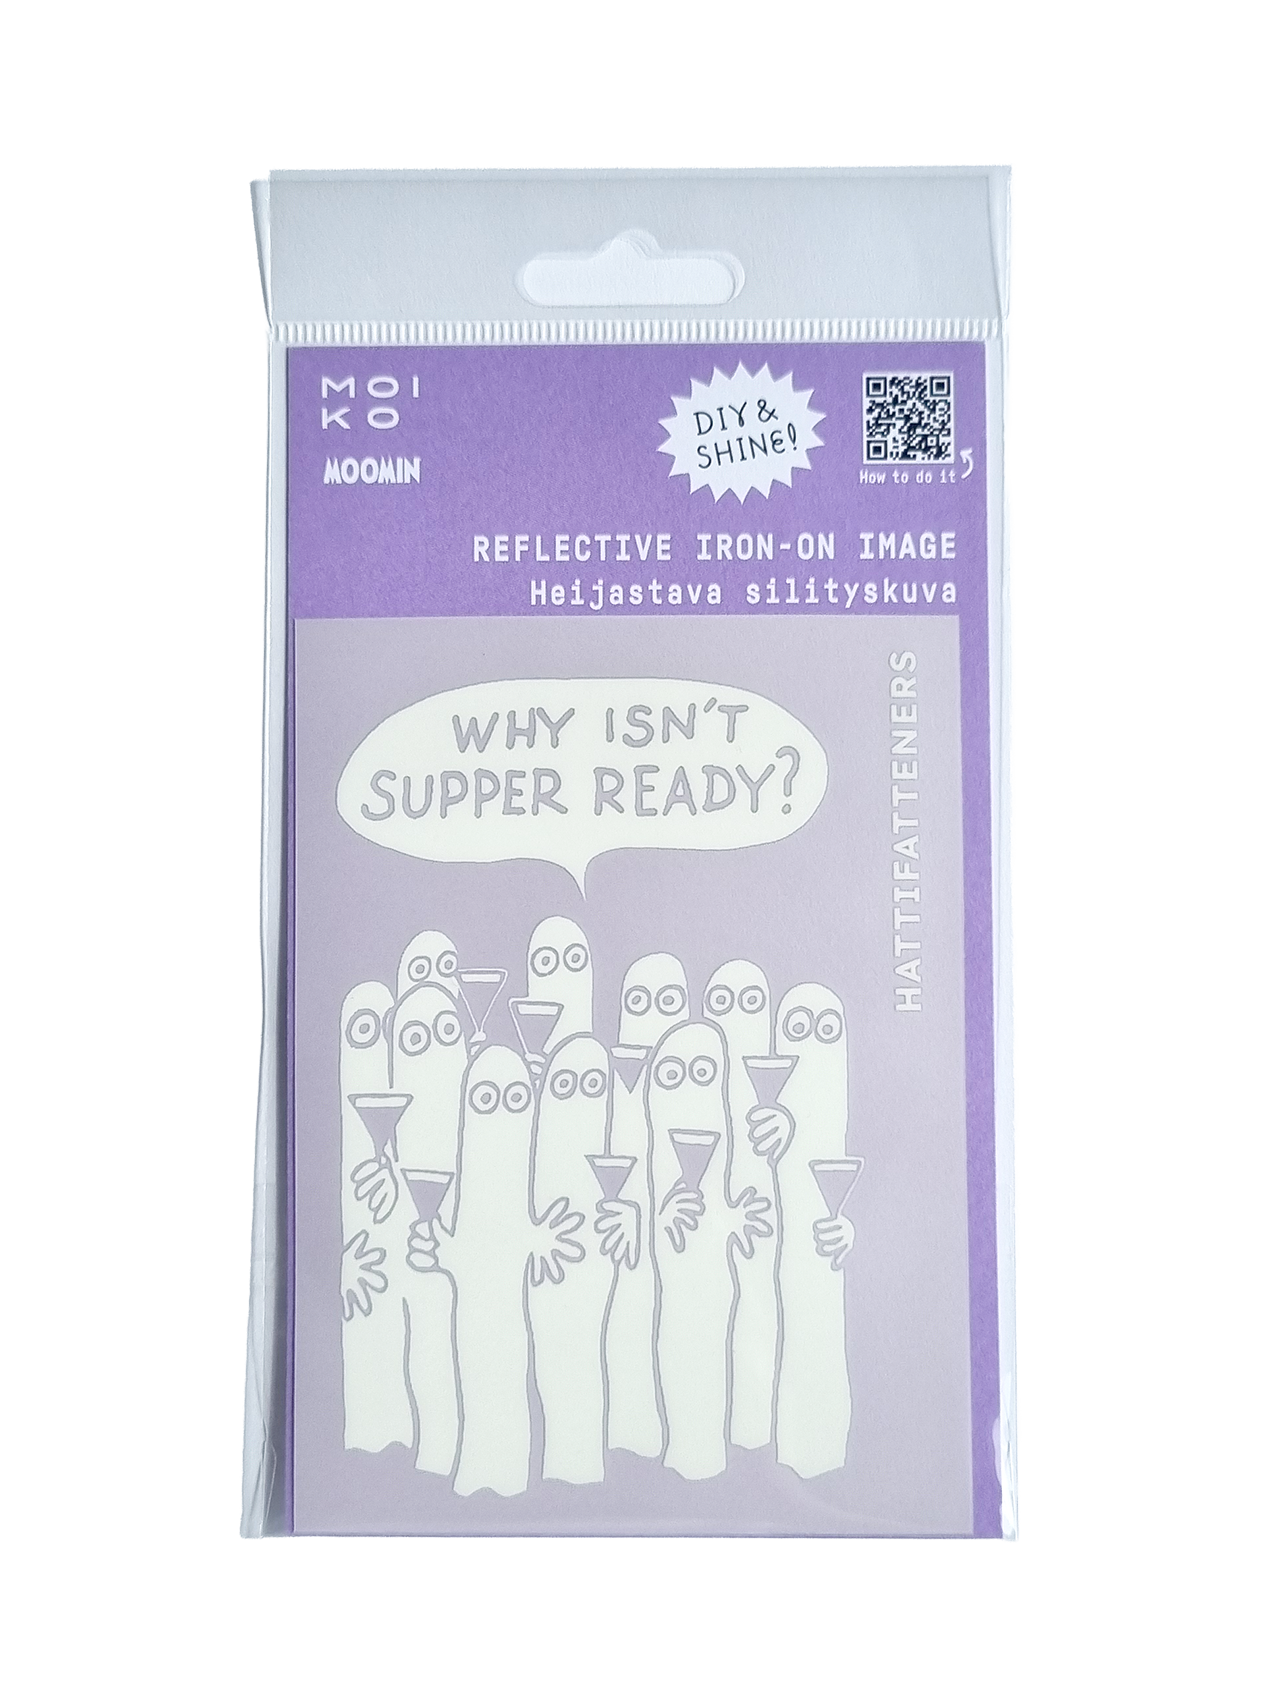
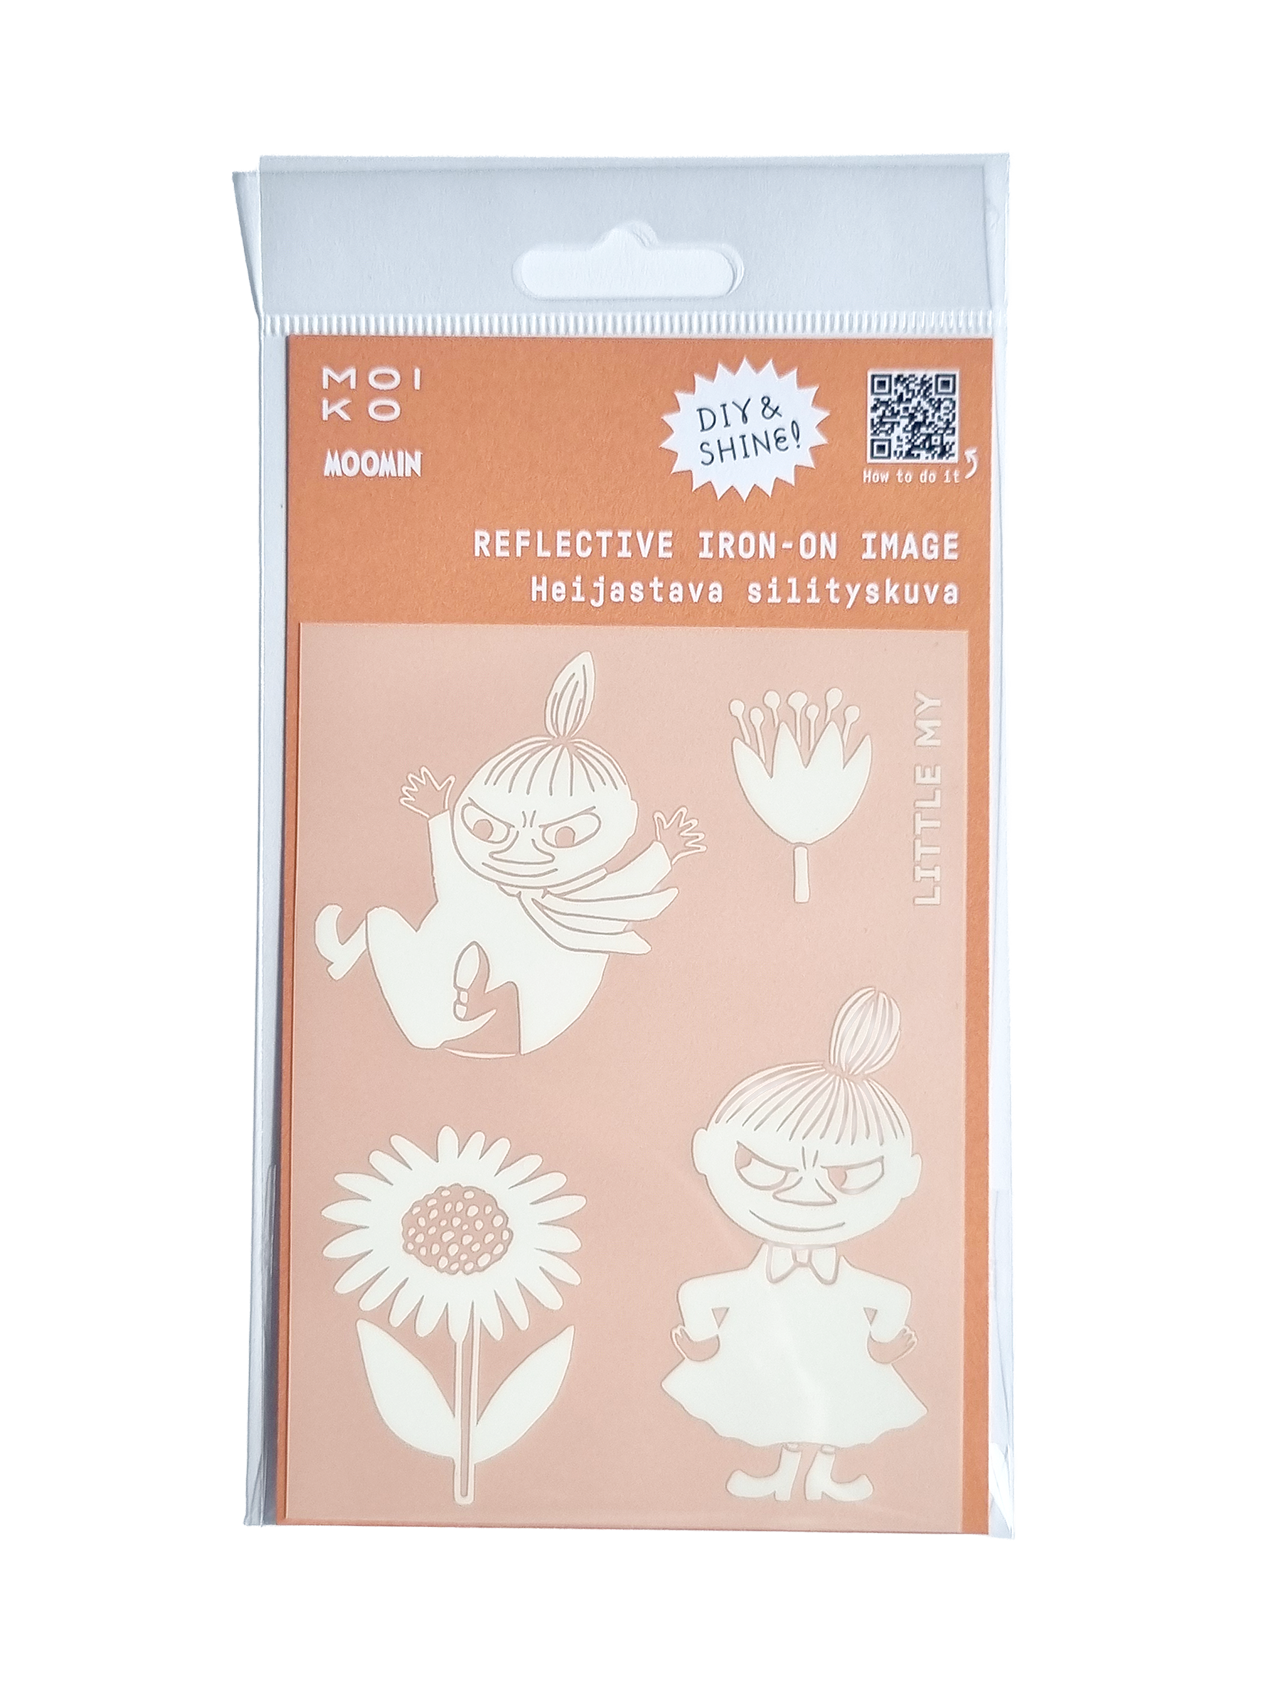
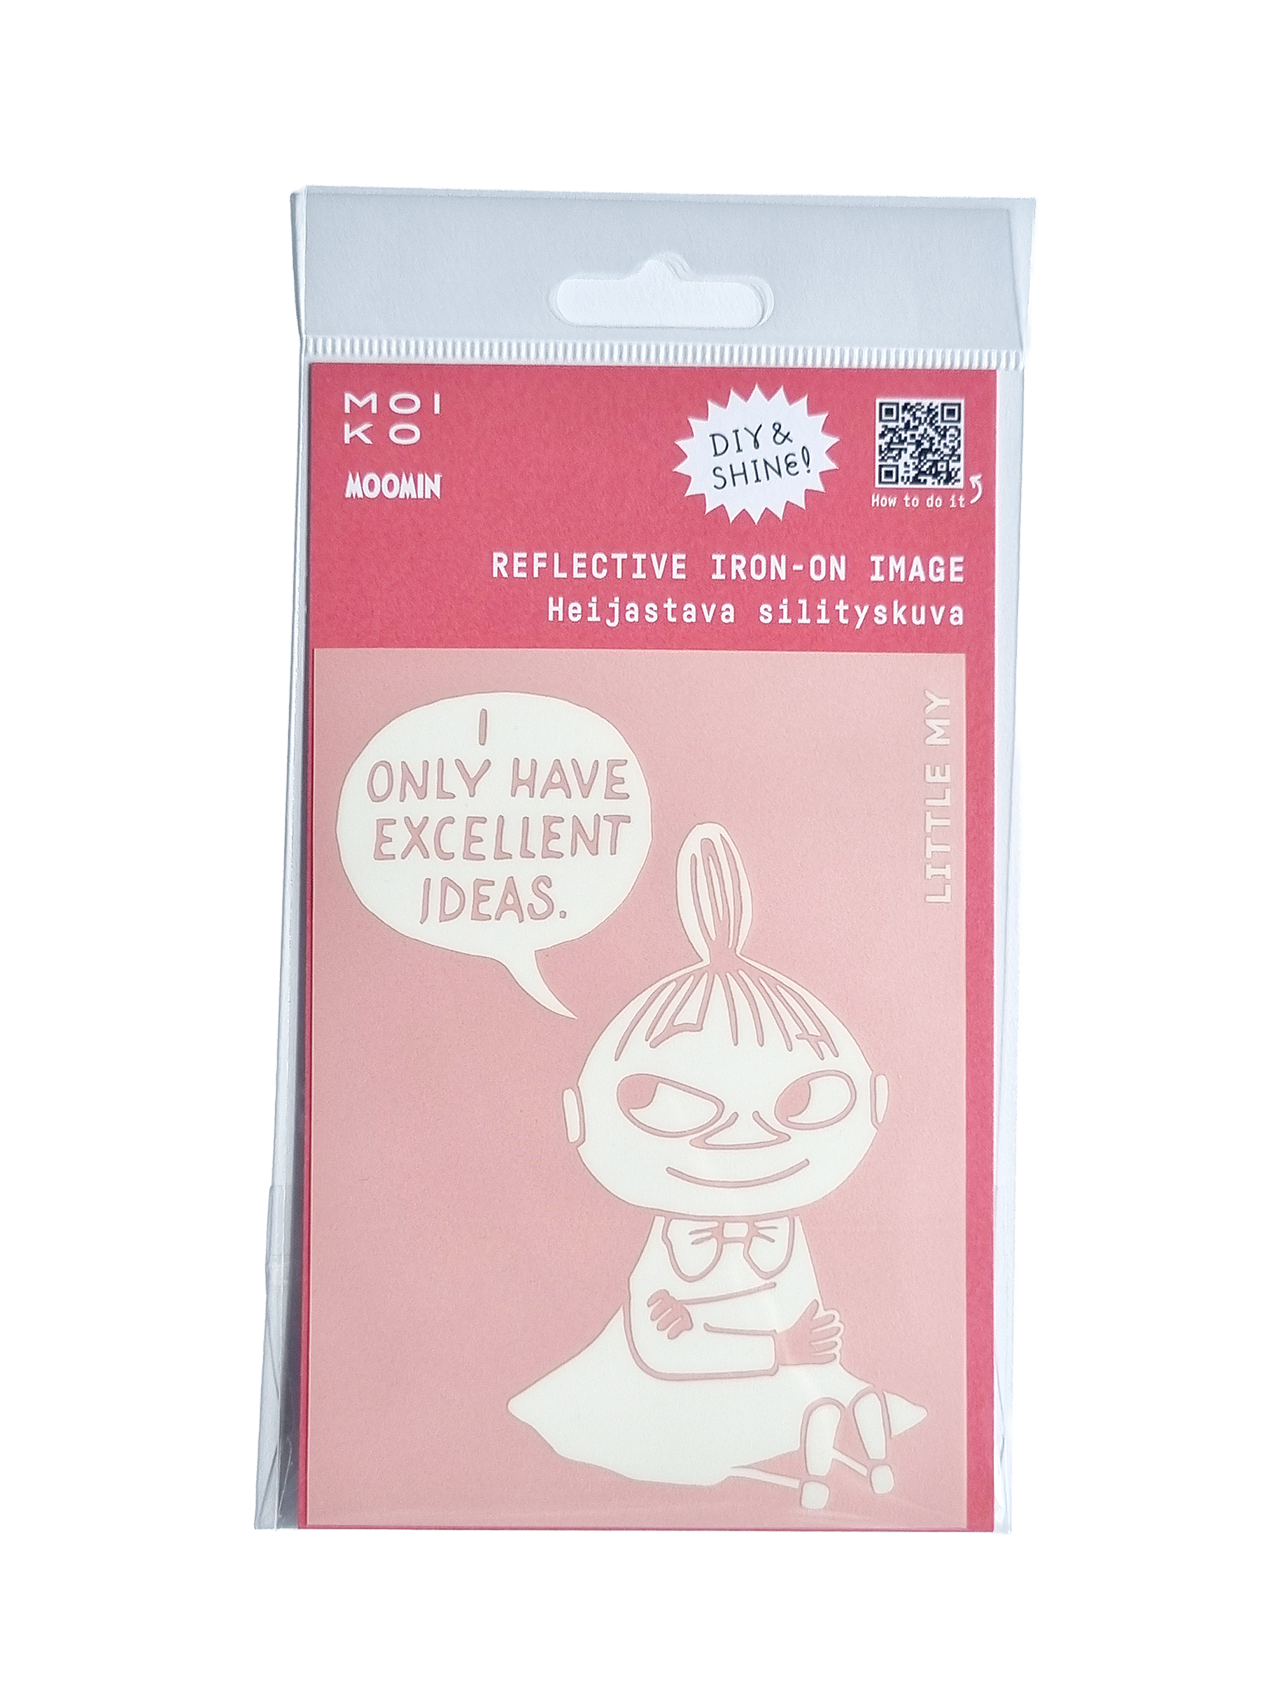
Mumin strykbilder
En lysande nyhet är här! Vilken karaktär får pryda din outfit?

How to attach your print
Attaching a reflective print is easy as pie! Let’s do it!
But first! Please try ironing the material you're planning on using with your iron on full power on some unnoticeable spot. We do not recommend attaching prints to Gore-Tex fabrics.
- Place the print where you want it, with the stickier/rougher side down and the smooth/slightly blurry side up. (If you’re attaching a piece of the film, make sure to remove the transparent film from the side that is towards the material.)
- Cover with a baking sheet.
- Place your iron over the print and press down with force for approx. 15 seconds. (The print is fine even if you press a tad longer, but any less might make it less cooperative.)
- Let the print cool to at least room temperature.
- Gently peel the top layer off with a swift motion.
- Cover the print with a baking sheet again.
- Place your iron over the print and press down with force for approx. 5 seconds.
And voilá, it’s time to shine!
You can also find these instructions on our website in text and video format.
Inspiration för din styling!

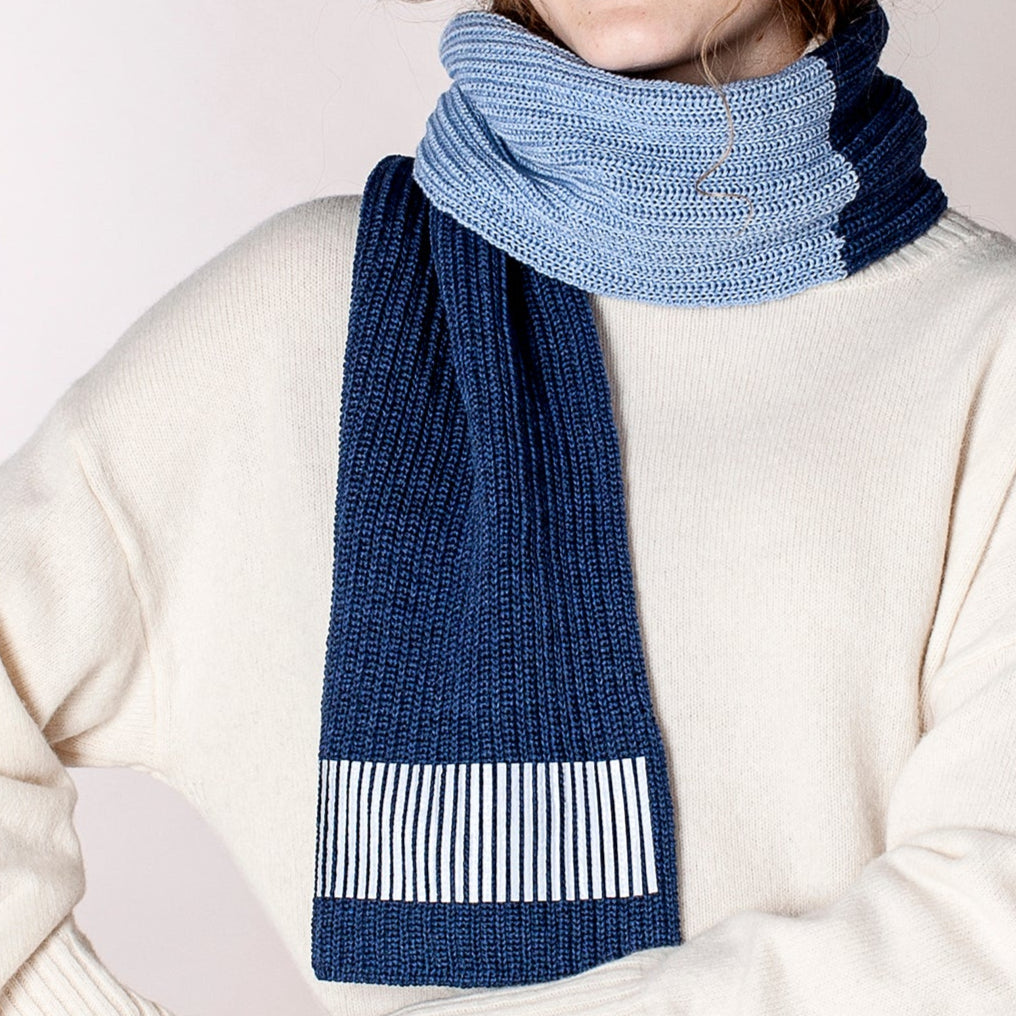
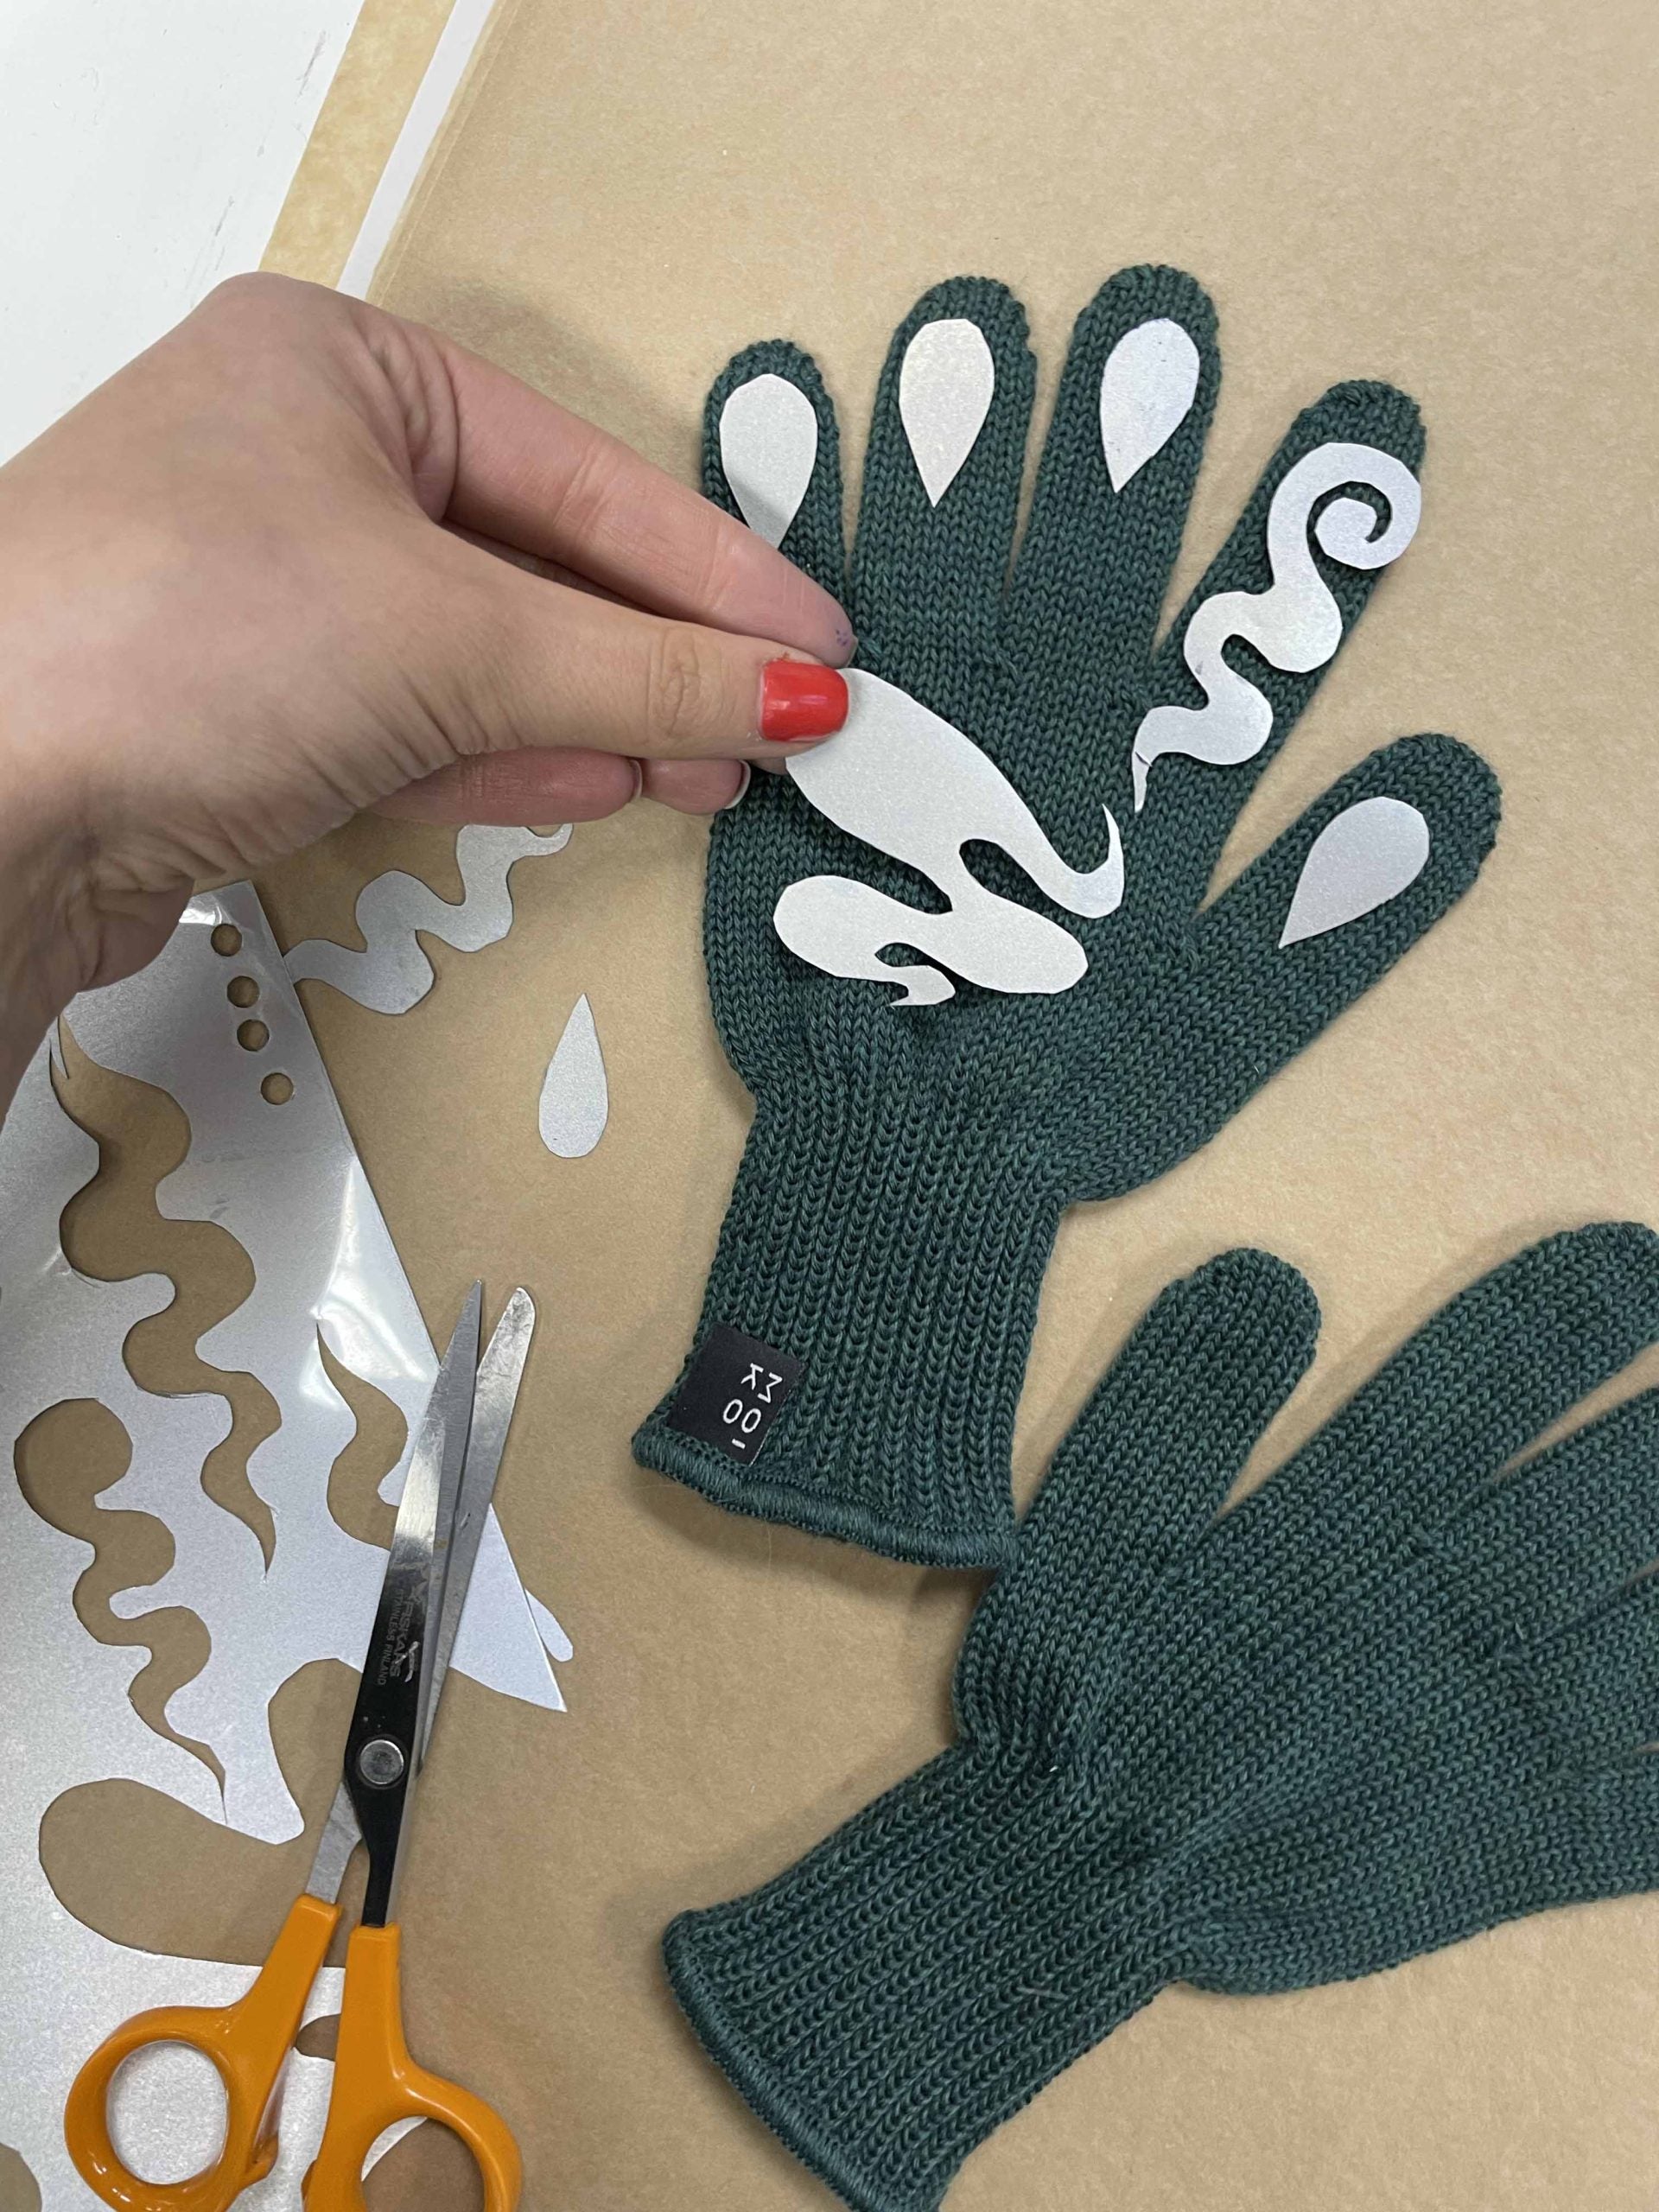
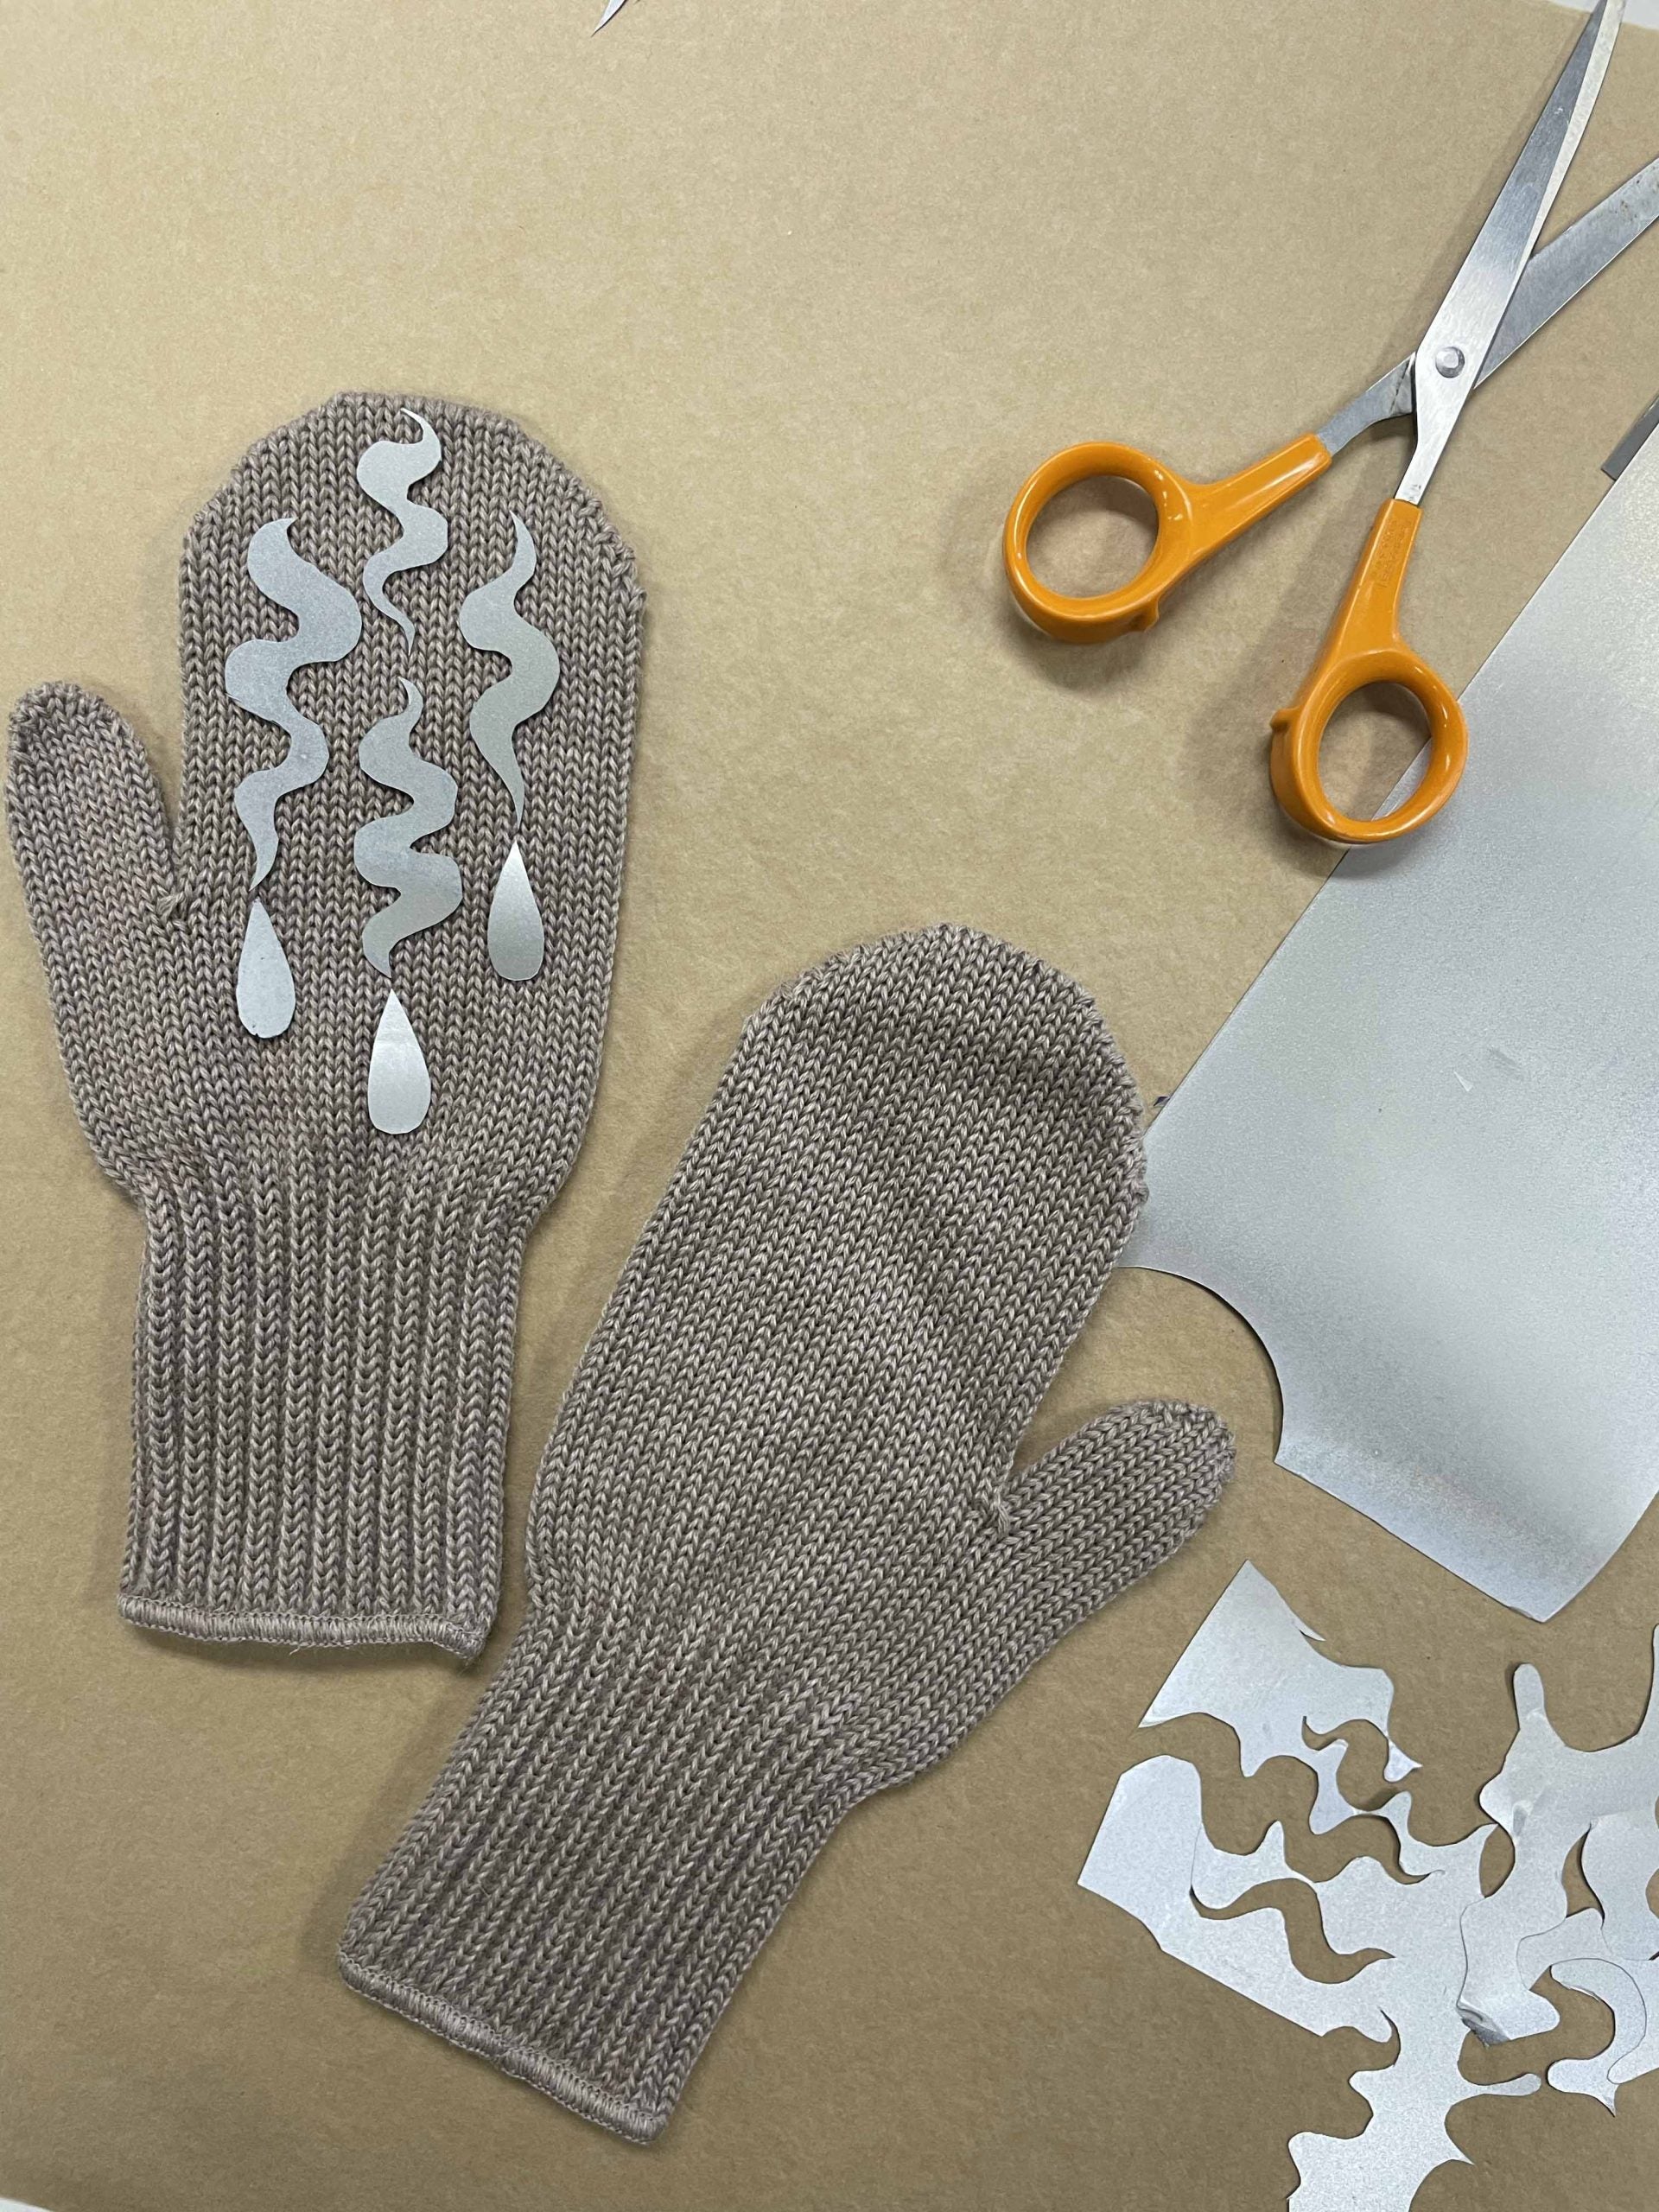
Vi kan verkligen gå i god för merinoull, liksom för ull och ullblandningar. Det är på dessa material vi själva fäster strykbilder året runt!
Nu kan du få dina vantar, halsdukar och mössor att stråla helt utan besvär!
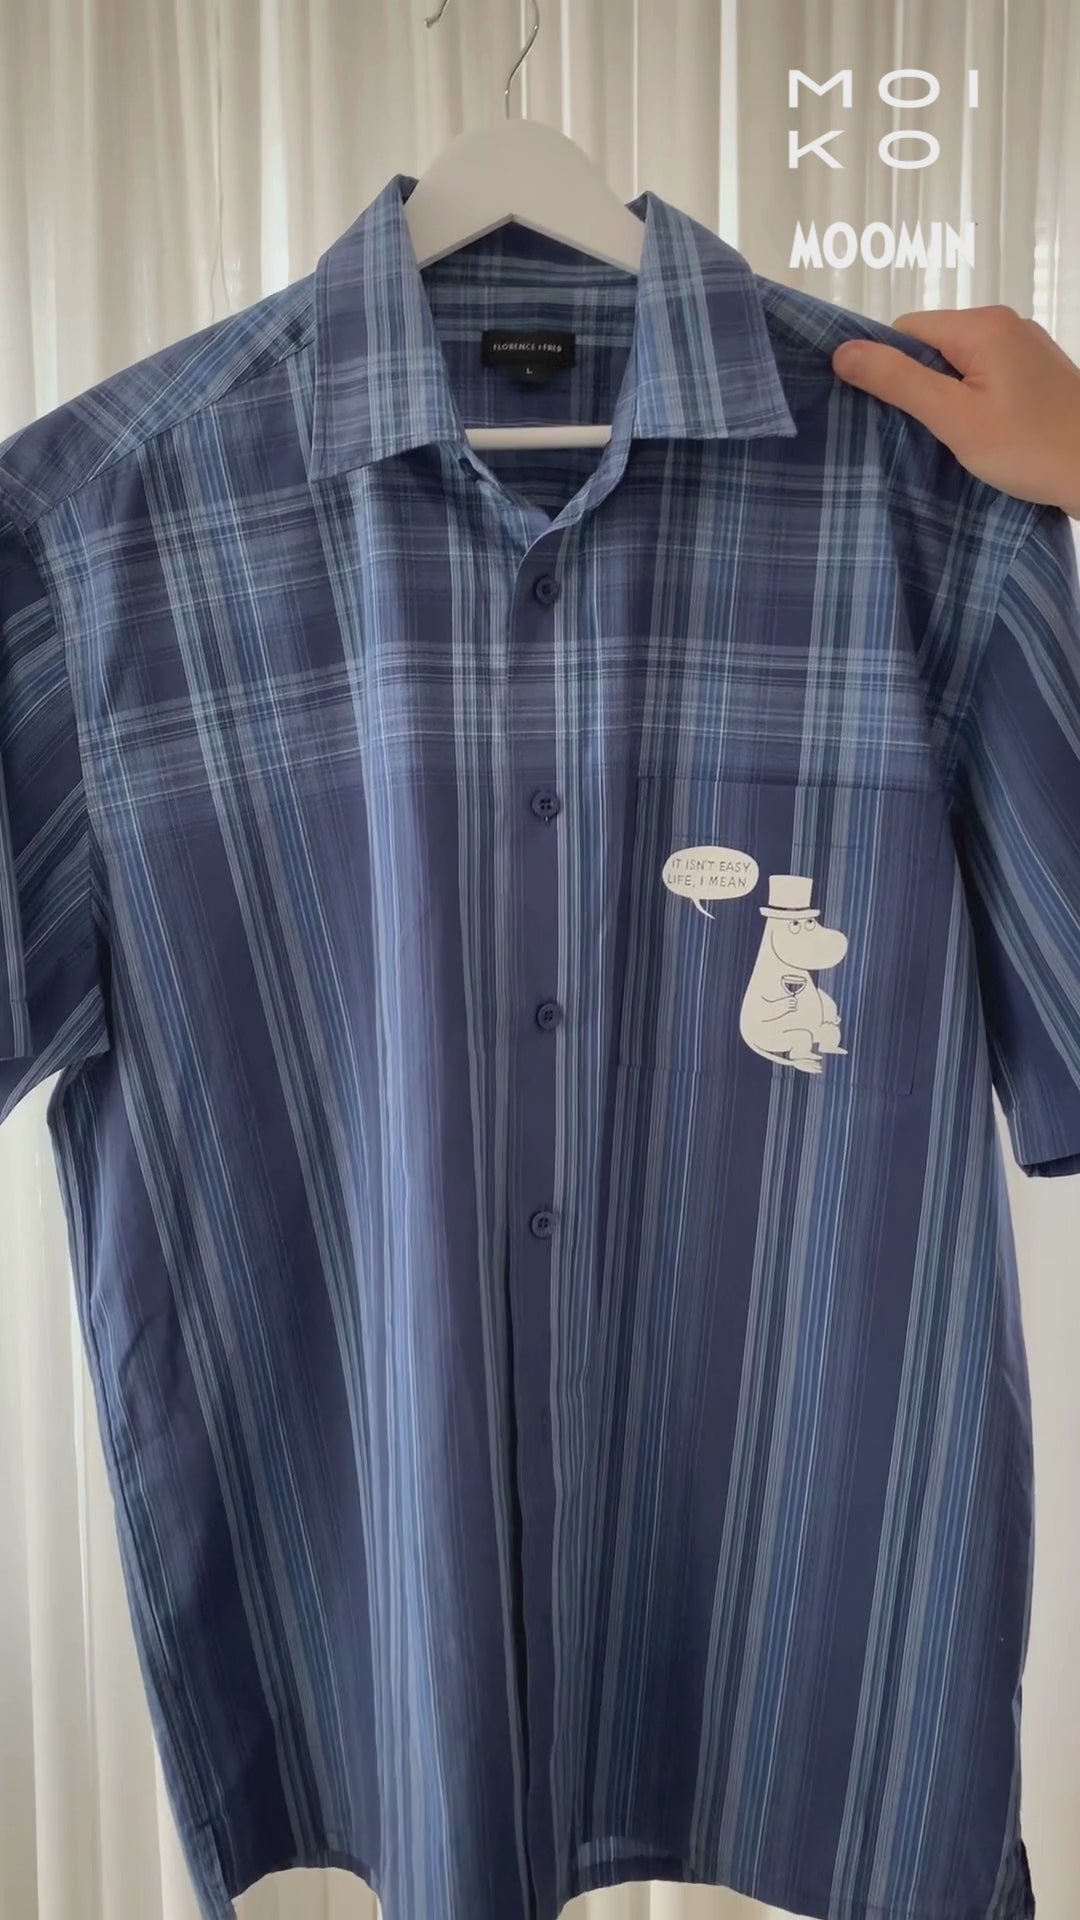
Stryktryck fäster riktigt snyggt på bomull. Vi har testat på bland annat luvtröjor, mjukisbyxor och t-shirts – och ja, det funkar utmärkt!
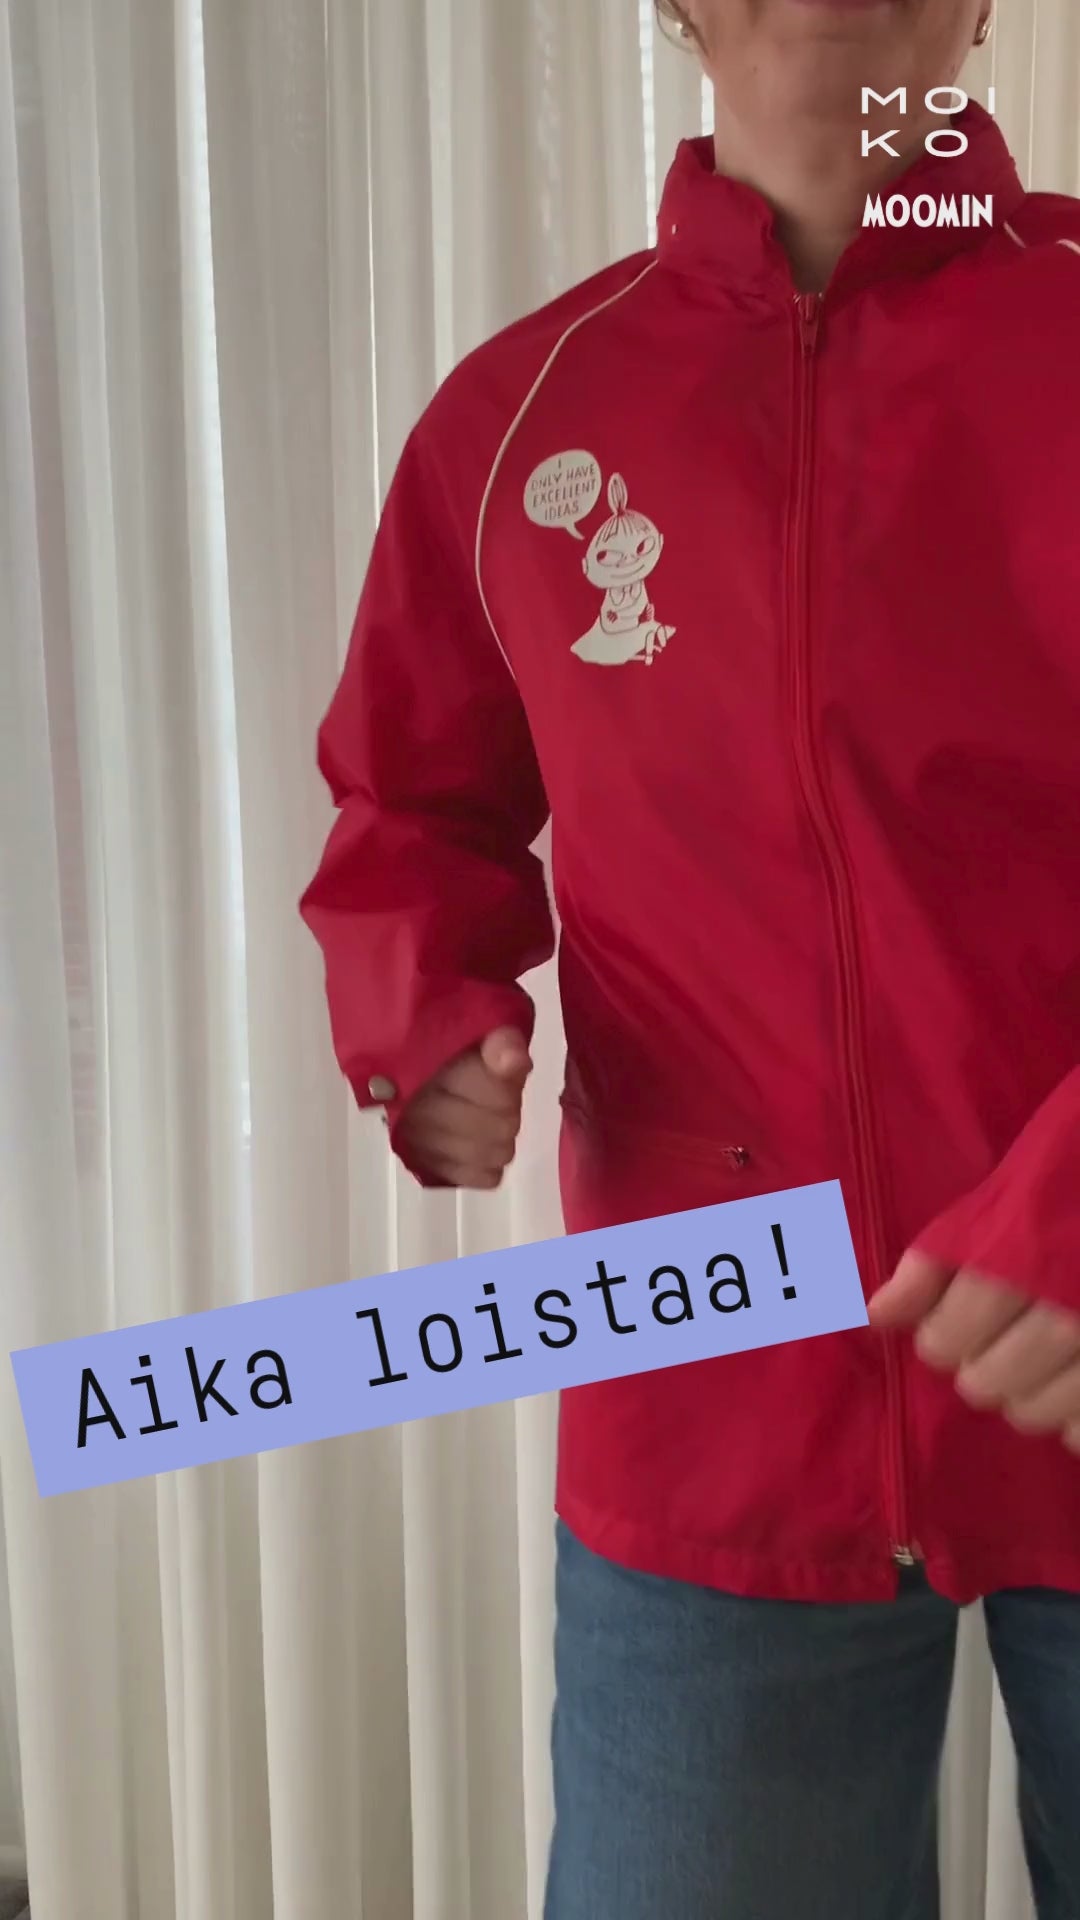
På softshelljackor och byxor framhävs stryktrycken fantastiskt, då den släta ytan gör appliceringen superenkel!
På bilden ser ni ett exempel: en "Rymden"-jacka designad till vd:ns dotter!
Kategorier
Här hittar du alla våra DIY-produkter, sorterade så att det ska vara enkelt för dig att hitta precis det du letar efter.


Inspiration för din styling!
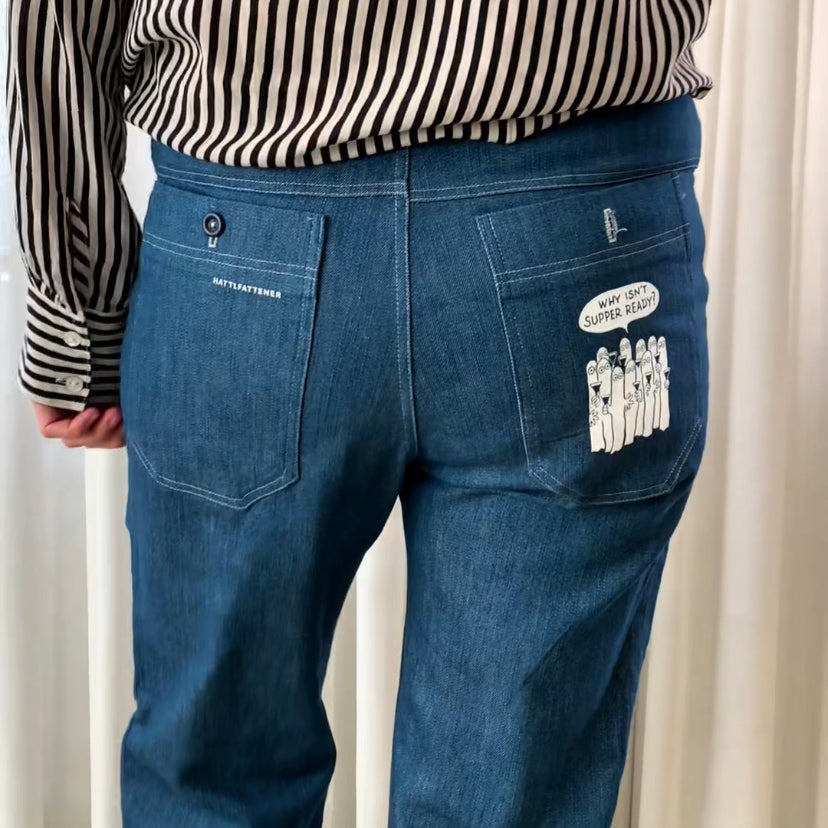
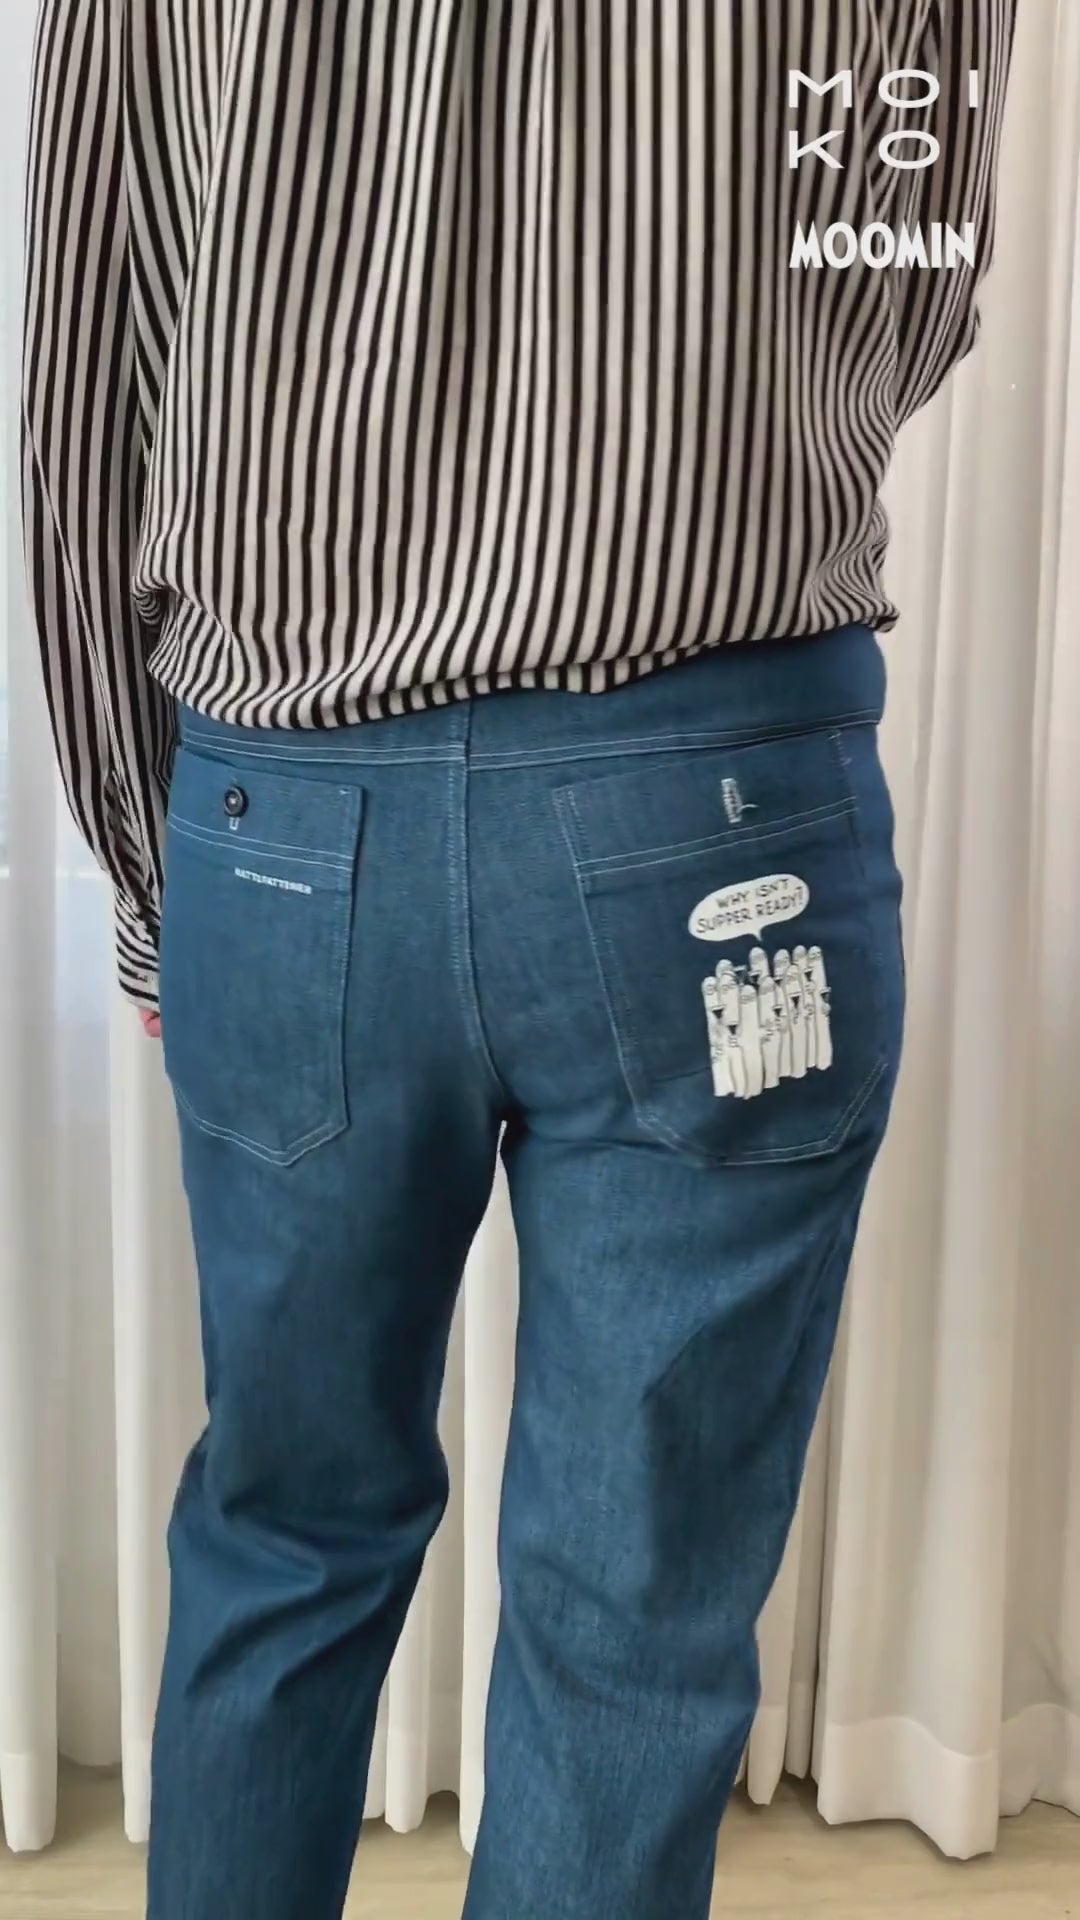
Stryktrycket fäster lätt på grov denim, och materialet tål värme bra.
Jeansjackor och jeans används ofta långt in på hösten, så ett par fjärilsvingar på byxbenet eller blommor på ryggen av jackan gör det enkelt att synas!
Det här överraskar många, men det funkar faktiskt! Så länge du kommer ihåg bakplåtspapperet är det ingen fara. Och det är såklart alltid smart att testa på jackans nederkant först för säkerhets skull.
Men vad gör man med sömmarna? Eftersom du kan klippa till bilderna precis som du vill, är det inga problem att placera dem mellan sömmarna!
Tro det eller ej! Vi testade att stryka på strumpbyxor mest som ett skämt, och hoppsan – det funkade ju! Sen åkte leggingsen fram också!
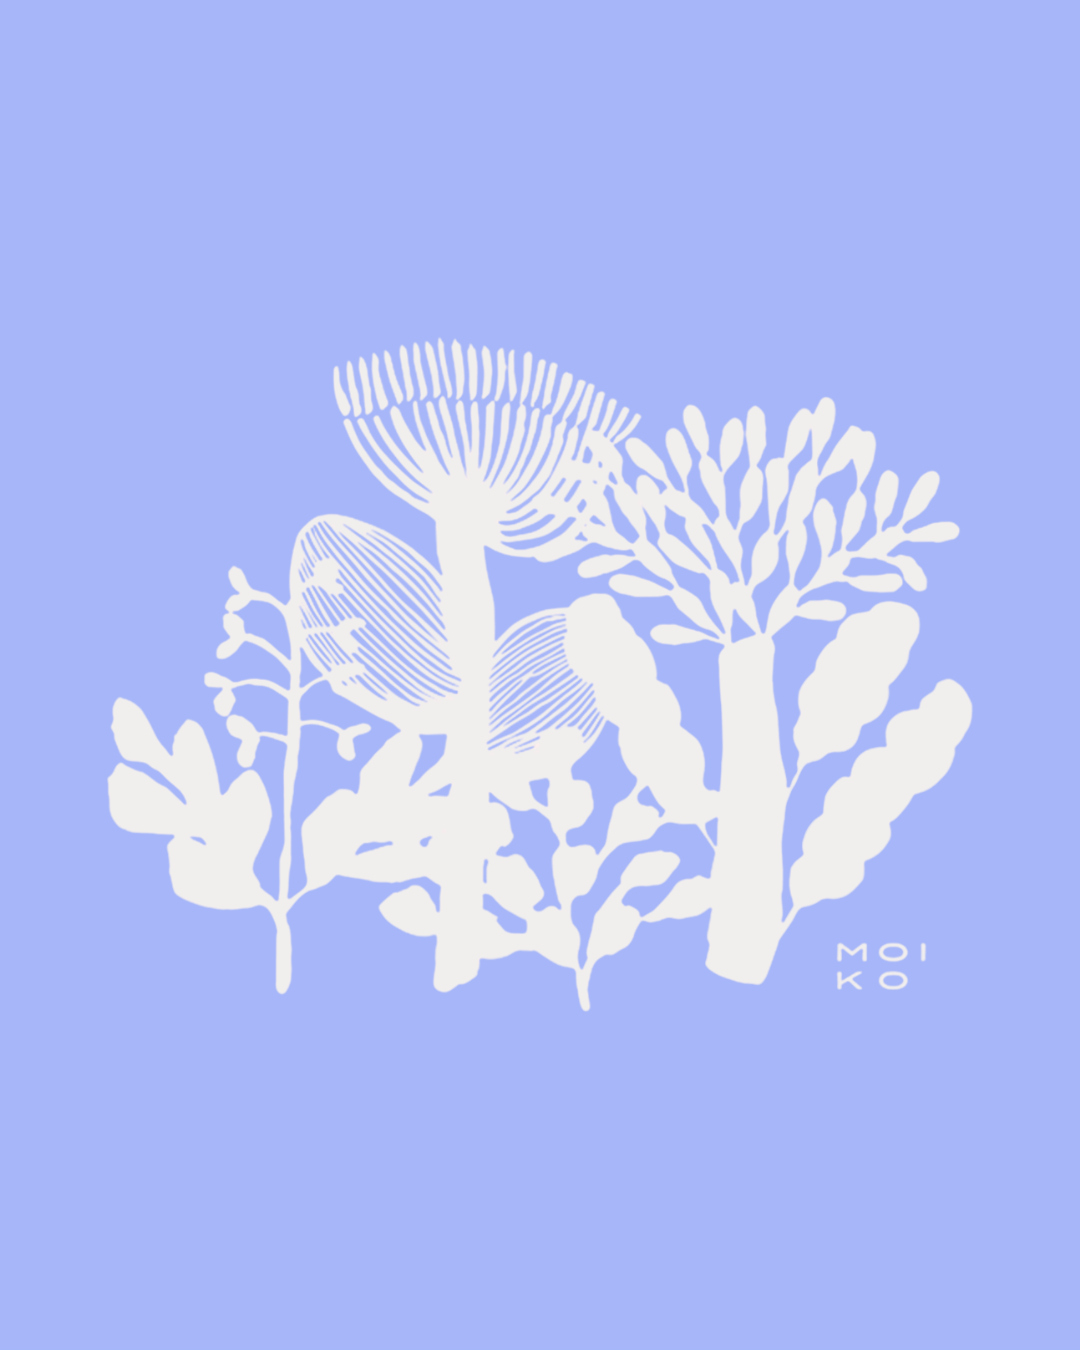
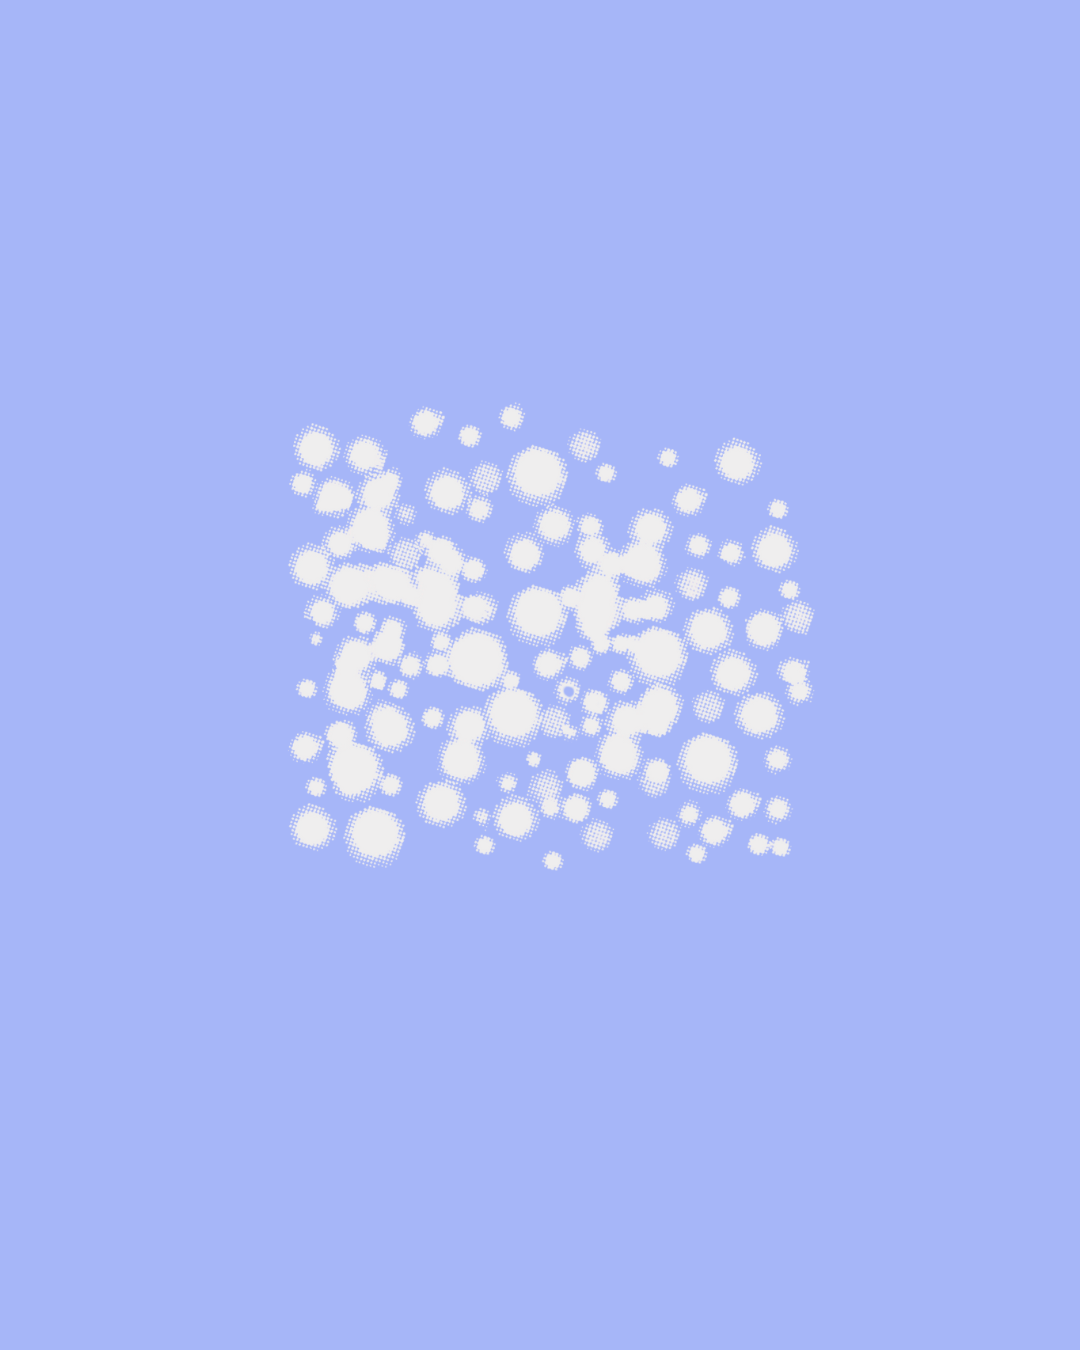
För töjbara material lönar det sig att välja ett motiv med mycket "luft" (som till exempel Herbarium eller Lumi), då håller mönstret bäst för stretch. Även våra reflekterande band tål töjning bra.
Tips! Det lönar sig att spänna ut tyget över en bit kartong när du stryker.
Gör dina mest strålande drömmar till verklighet!
Klipp och placera precis som du vill!
DIY FAQ
Undrar du över något?
Om du inte hittar svaret du söker i vår FAQ, tveka inte att skicka ett meddelande till oss på kauppa@moiko.fi.
What material can the reflective print attached to?
Almost anywhere! Through our testing we've found that if the material can withstand the iron, it can also withstand attaching the print. Natural materials are ideal due to their rough surface (for example, merino wool, like our mittens), but we've also attached prints to hoodies, tights, running pants and dog leashes, among other things.
We do not recommend attaching the print on Gore-Tex materials, as the water-resistant surface cannot take the ironing. Always remember to test ironing the material with a baking paper in between and with the iron on the highest setting.
Can the print be washed?
Yes indeed it can!
Usually the material is more sensitive than the print, as these prints can be washed at up to 90 degrees. They will not come off! However, if possible, remember to turn the item inside out so that the print does not rub against the washing machine surfaces.
Can I cut the print?
Absolutely!
It's great to unleash your creativity. Before ironing, you can cut the image to be ironed to your liking. For example, you can cut a flower print in half and iron the halves on different sides of a zipper.
Let customers speak for us
Sopivan kokoinen, pitää hyvin muotonsa pesussa. Miellyttävän tuntuinen T-paita.


Laadukkaita paitoja kerralla koko perheelle. Nuorison mielestä vähän pitkähkö helmasta, äidin mielestä kaikin puolin sopiva. Kiva kissa-painatus!

Kerrankin valkoinen paita, jonka materiaali ei näy läpi. Plussa luonnonvalkoisesta sävystä, ei ole niin lianarka.
